AMI with CFT
Deployment instructions for NannyML Cloud on AWS using AMI
NannyML Cloud is available on the AWS marketplace as an Amazon Machine Image (AMI) that can be deployed to EC2 using a CloudFormation template. This page provides deployment instructions and describes configuration options for customizing your NannyML Cloud instance.
Deploying NannyML Cloud using AMI is easier than deploying to kubernetes. It is however limited to a single instance, which means the compute available for analysis is constrained. For production use with many models, we recommend using the EKS deployment.
AWS Marketplace subscription
To access NannyML Cloud, you will need to subscribe to our offer on the AWS marketplace:
NannyML Cloud Trial: NannyML Cloud configured to use a 30-day scale trial license. It is free to subscribe and use, but once the trial license expires you will need to purchase a license to continue using the software.
NannyML Cloud: NannyML Cloud using a contract license model. To subscribe you need to purchase a license in the AWS marketplace.
To continue, click the Continue to Subscribe button on the offer of your choice.

Configure license
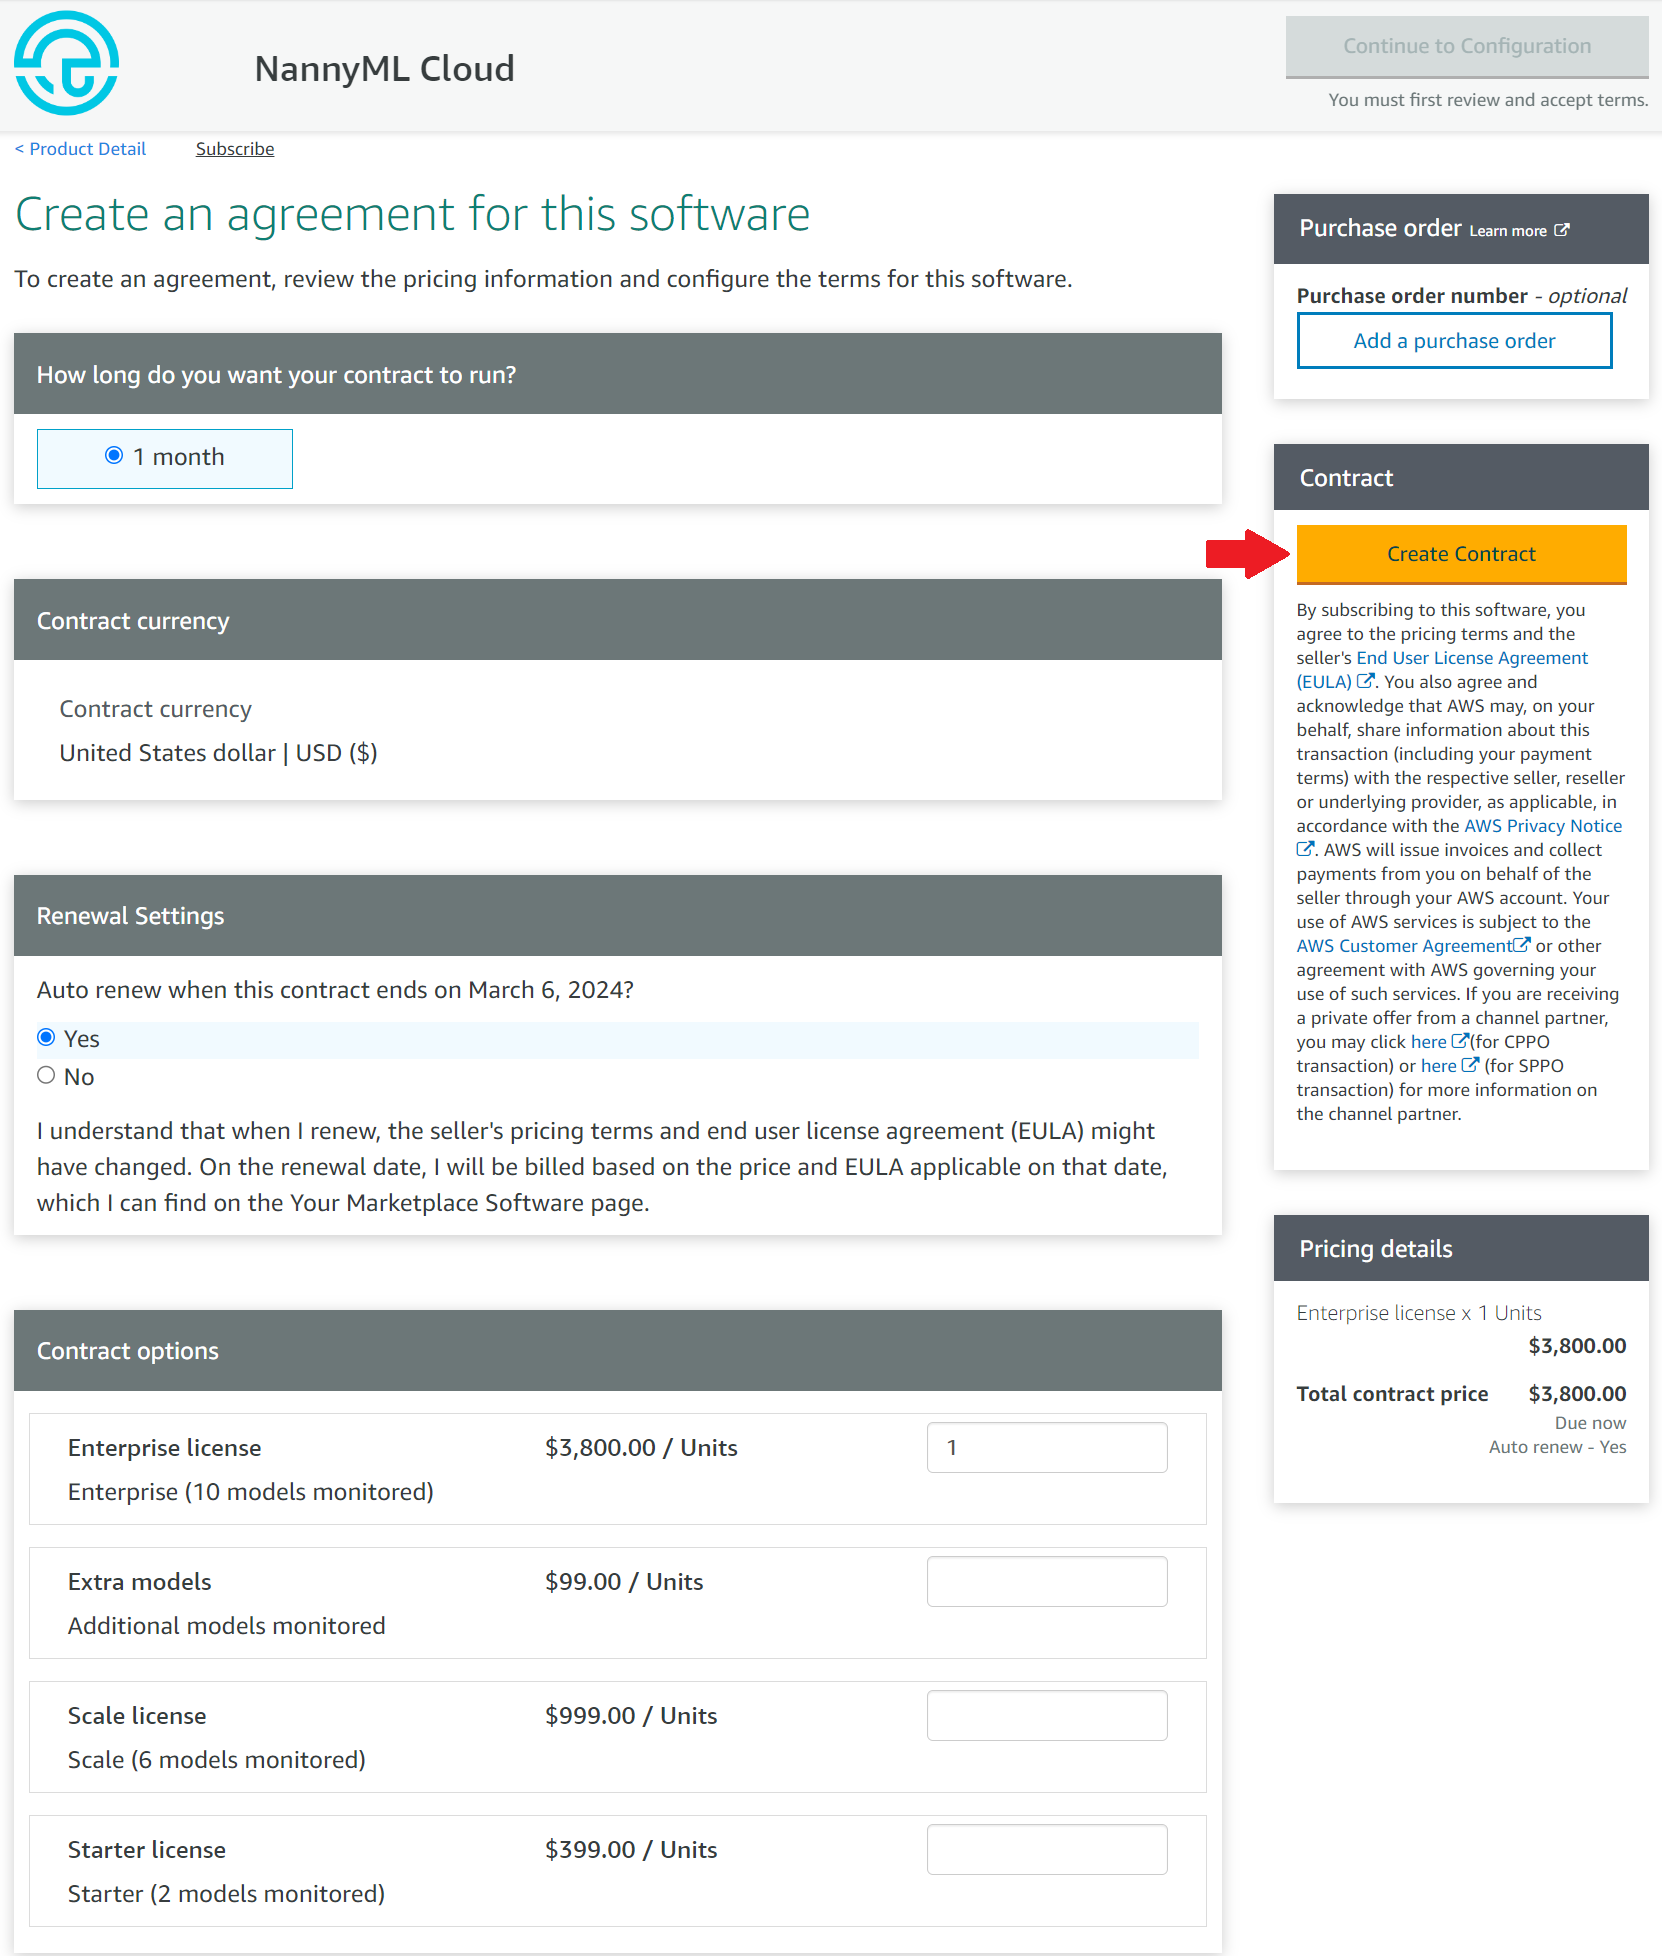
If you've opted for the NannyML Cloud offer with free trial, you can skip this step. Otherwise you will be shown a contract page where you can configure your license by specifying the number of units you want to purchase:
Starter, Scale or Enterprise license: the license required to run NannyML Cloud. One license is required for each instance of NannyML Cloud you want to run. See our pricing table to understand what's included.
Extra models: the enterprise license includes capacity for monitoring 10 models. If you want to monitor more models, enter the number of additional model monitoring licenses you want to purchase. These licenses are floating, meaning if you have 2 NannyML Cloud instances, they can both use the available licenses as models are added to the application.
Don't know yet how many models you will need? Don't fret, you can always come back and edit your license in the AWS marketplace or add a new license contract.
We advise to renew your license automatically every month. Should you choose not to, your NannyML Cloud instances will stop working when the license expires. You can then purchase a new license to restore your existing NannyML Cloud instance.
Choose software version and region
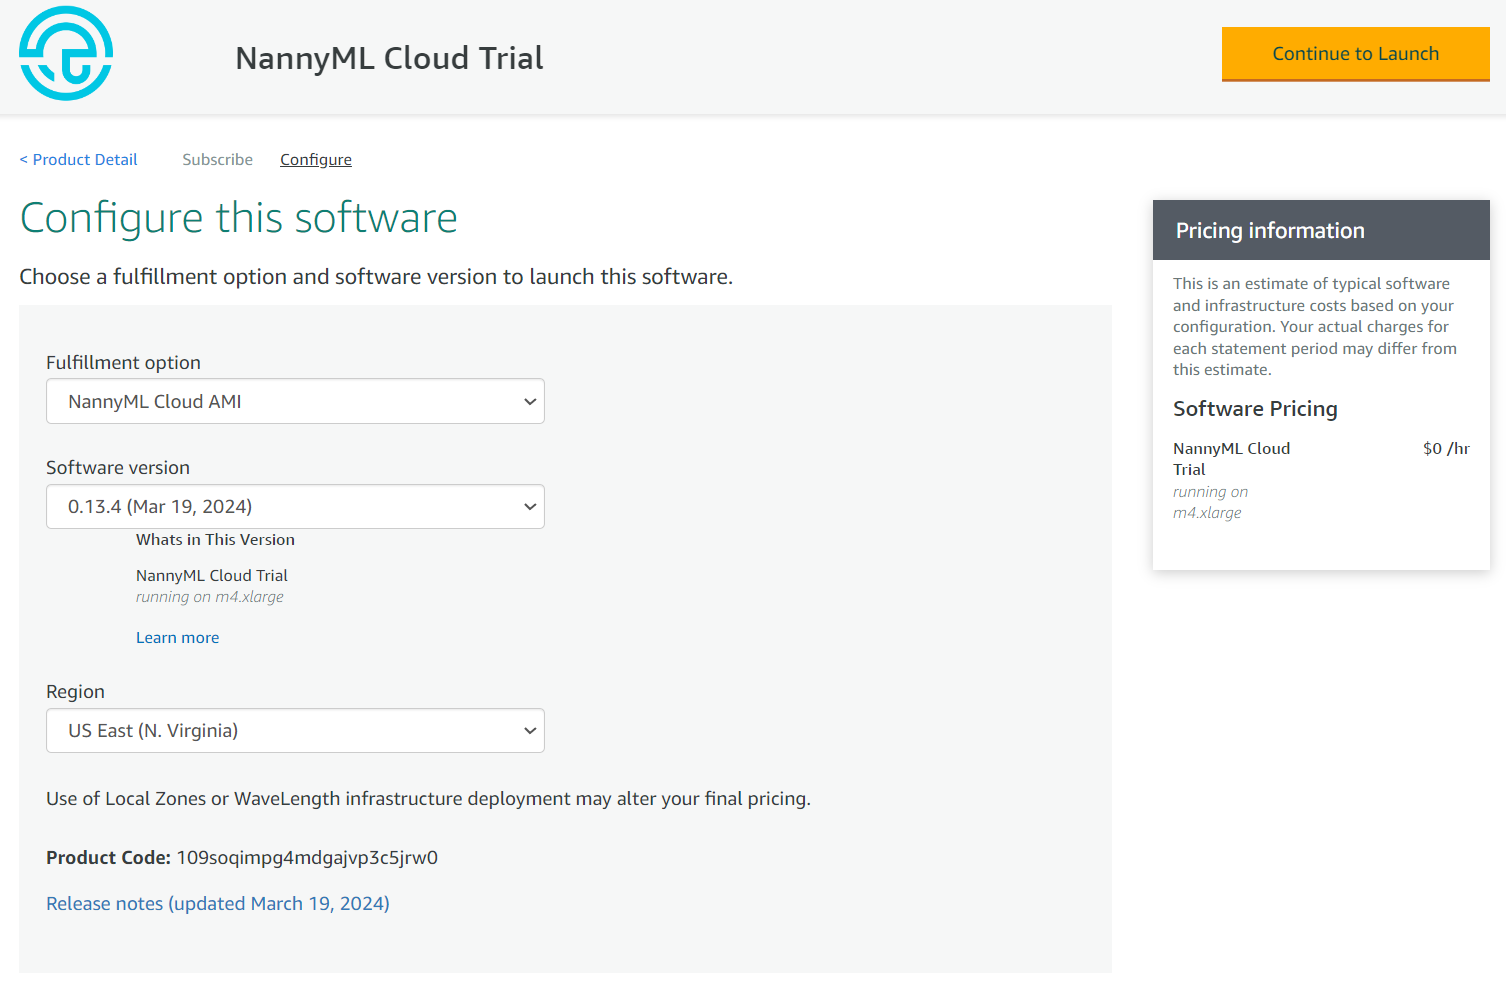
Select the NannyML Cloud AMI option and choose the software version and AWS region you wish to use, then click Continue to Launch. We recommend using the latest version available for the best user experience.
We currently don't support all regions AWS offers. We advise picking the region closest to you to limit latency when accessing the application.
If you want to use a specific region that is currently unavailable, let us know.
Choose launch option
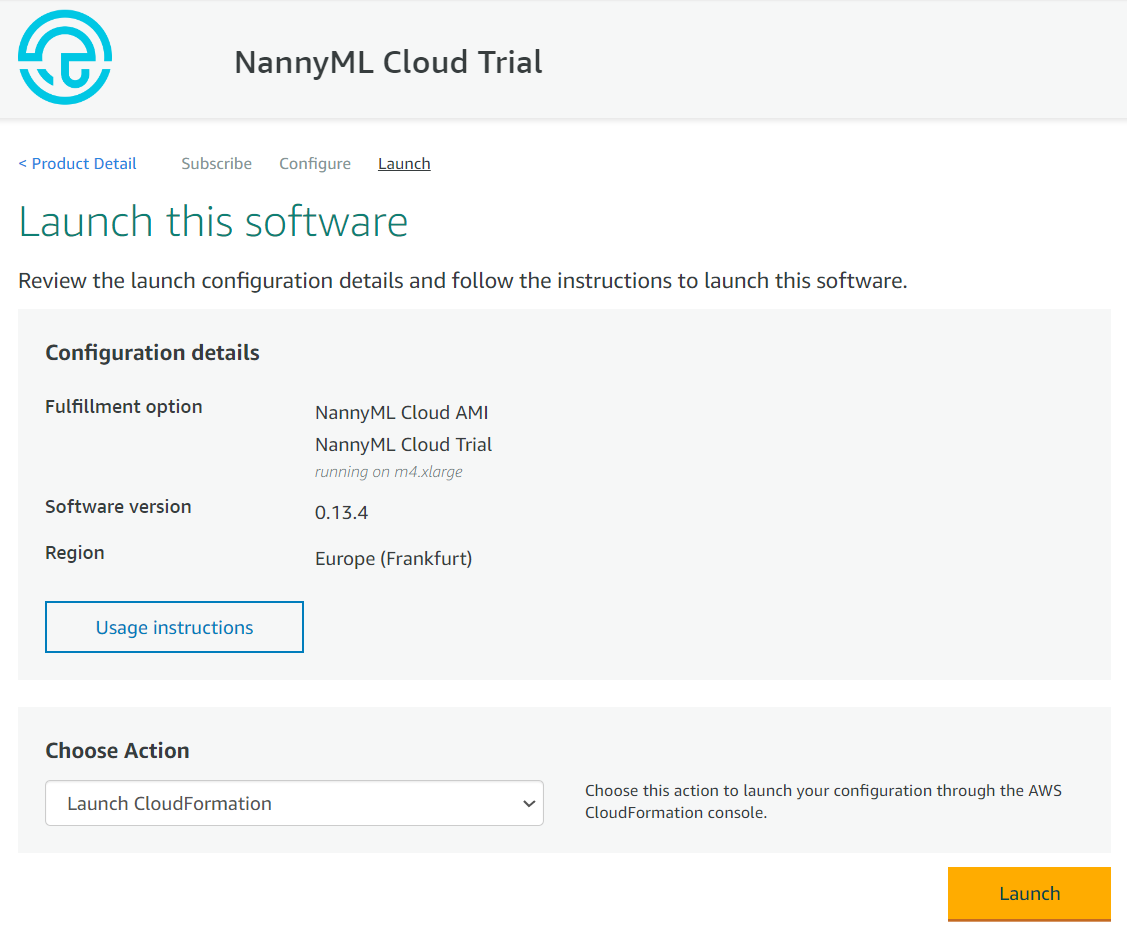
In regions where AWS Service Catalog is supported, you'll be offered a choice between launching using CloudFormation or copying to Service Catalog. The former deploys a single instance of NannyML Cloud. The latter allows you to make the NannyML Cloud product available inside your organisation where it can be used to create new deployments.
This guide uses the CloudFormation option to guide you through the deployment progress. If your organisation uses AWS Service Catalog, you should be able to follow the deployment instructions after starting the CloudFormation deployment from AWS Service Catalog.
Deploy the application
Step 1: Create stack
The deployment uses a CloudFormation template that is available as part of the marketplace offer. Accept the defaults and click Next.
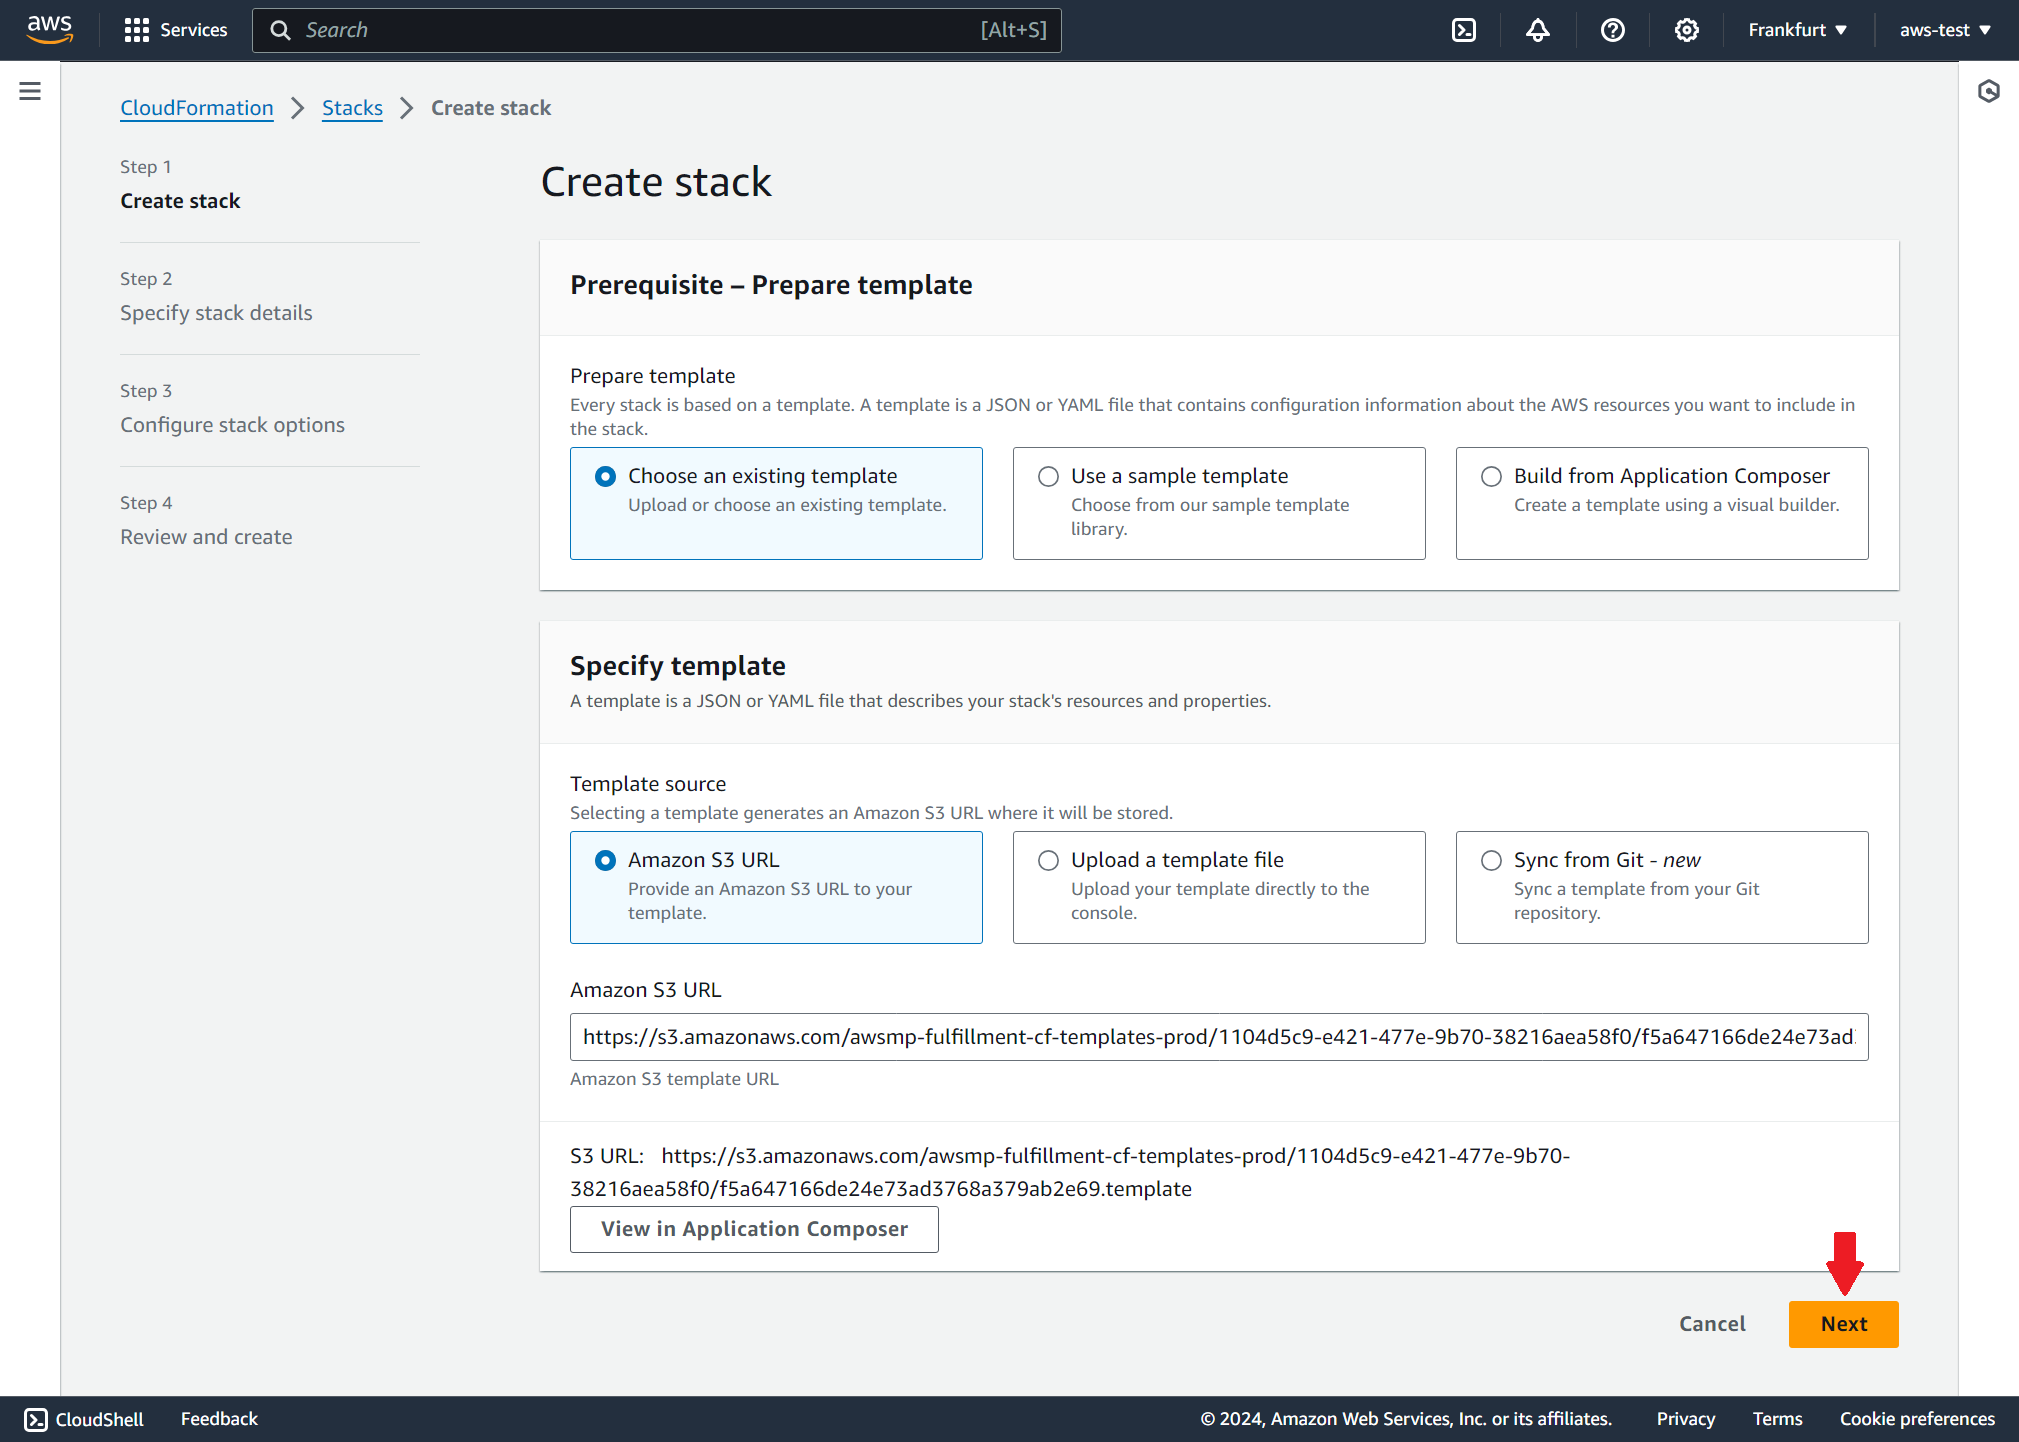
Step 2: Specify stack details
Stack name
Choose a unique name to identify this stack deployment. It will be used to name various resources created as part of the stack. The name will also be used to identify the stack in the CloudFormation console.

EC2 configuration
The NannyML Cloud instance runs on a single EC2 instance, with its database hosted on a separate EC2 instance. This section allows you to configure parameters for the EC2 instances.
EC2 instance type: The EC2 instance type to use for running the application. It should have enough memory and compute to run the NannyML algorithms on your model data. If you're just looking to try things out with small datasets, the default
t3.largeEC2 instance type is a safe and relatively cheap choice.EC2 key pair: An SSH key pair you can use to access the application & database EC2 instances. If you don't have a suitable key pair available, you can create a new key pair on the EC2 console. Note the key pair must be in the same region as the deployment.

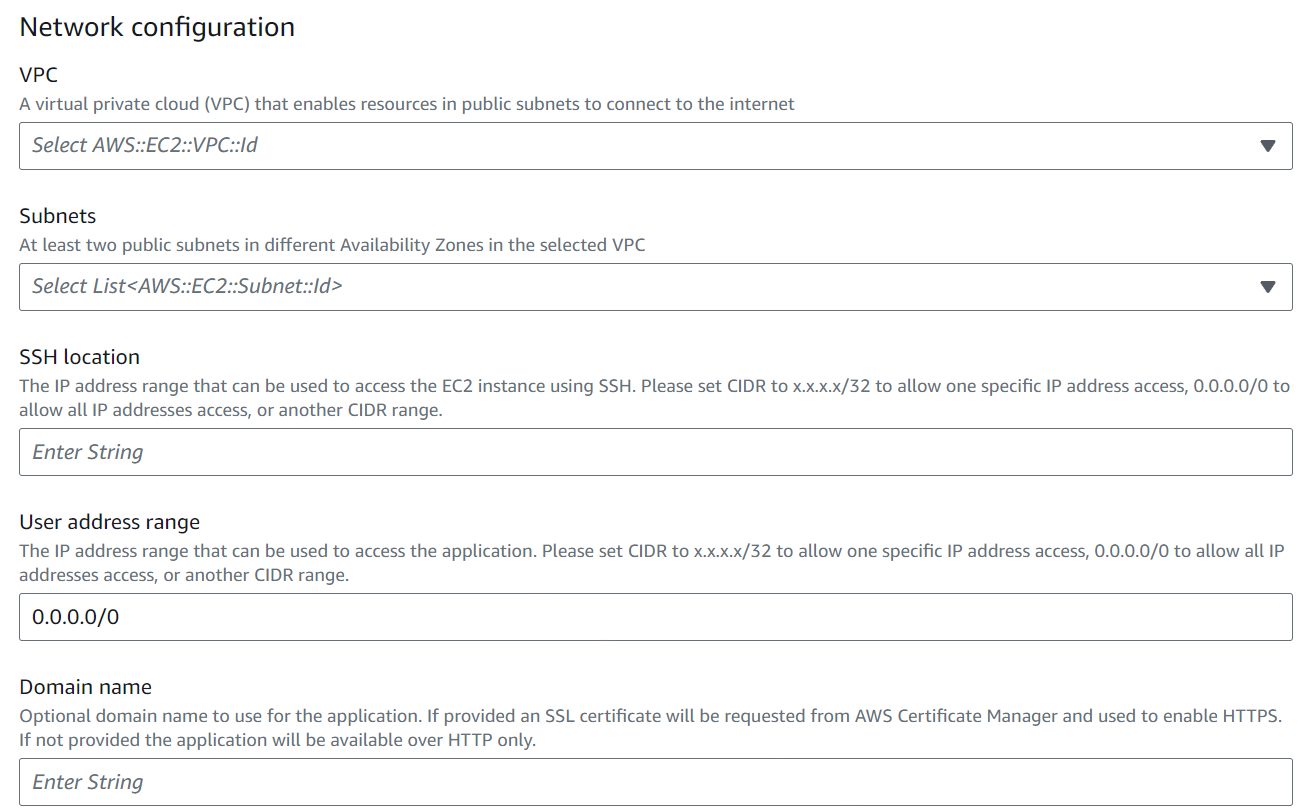
Network configuration
This section allows you to configure the VPC and networking for the NannyML Cloud instance to be deployed.
VPC: Choose an AWS Virtual Private Cloud (VPC) where the application should be deployed.
Subnets: Choose at least 2 subnets in different availability zones where the application should be made available. An Elastic Load Balancer (ELB) will be created as part of the stack to route traffic from those subnets to your NannyML Cloud instance. If one of the availability zones would go down, you can still access your application via the other availability zone.
SSH location: Provide an IP range that is allowed to access the application and database EC2 instances. For security reasons it is best to keep the IP range as restricted as possible. However, you can use
0.0.0.0/0if you don't want to restrict access to a specific IP range. Note clients must still have the SSH private key to connect to the EC2 instances regardless of the configured IP range.User address range: Provide an IP range that is allowed to access the application. The default of
0.0.0.0/0allows connection from anywhere.Domain name: Optionally provide a custom domain name where you want to host the application, e.g.
nannyml.myorganisation.com. This is required to encrypt traffic between the application and clients using HTTPS. If provided you will need to set up a DNS record to direct the configured domain to the Elastic Load Balancer (ELB) that will be created as part of the stack. If not provided your NannyML Cloud instance will be available using HTTP at a dynamically generated AWS URL, e.g.http://nannym-appli-<dynamic-string>.<region>.elb.amazonaws.com
Database configuration
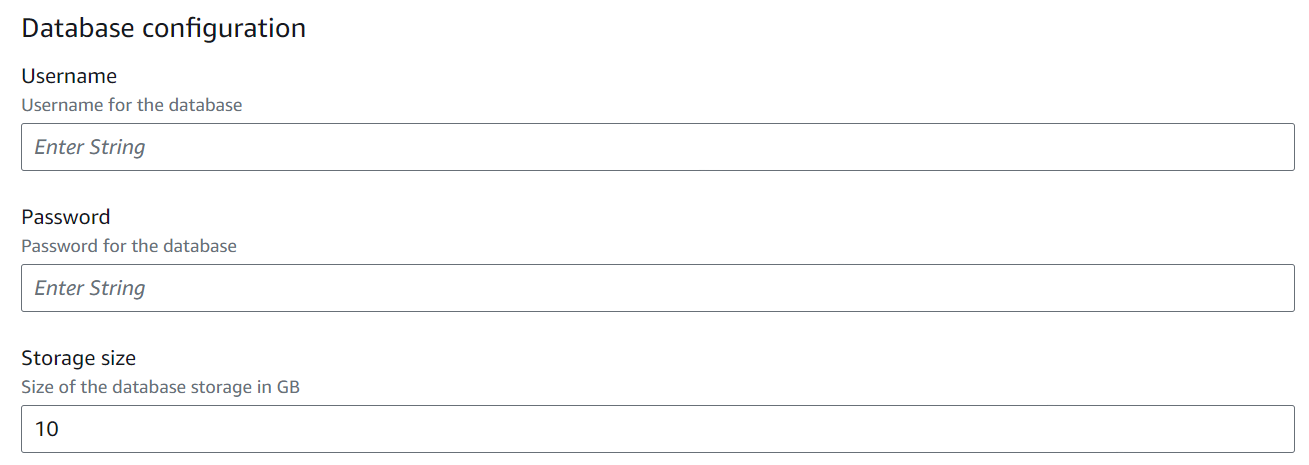
This section configures the PostgreSQL database for the NannyML Cloud instance to be deployed.
Username: Username to use for the database. Only letters, numbers and underscore are allowed. The username must start with a letter.
Password: Password to use for the database. It must be a least 8 characters and should not contain
",@or:. Note firewall rules will prevent access to the database from anywhere except the EC2 instances created as part of the stack.Storage size: Size in GB for the EBS volume that will be created to store the database. This volume should be large enough to store all data you upload to your NannyML Cloud instance + generated results (typically many times smaller than the uploaded data).
Step 3: Configure stack options
In this step you can configure how CloudFormation should deploy your stack. For the purposes of this walkthrough you can click Next at the bottom of the screen to use the defaults. For an exhaustive description please refer to AWS documentation.
Step 4: Review and create
Here you can review the selected options before creating the stack.
At the bottom of the page you will need to grant CloudFormation the capability to create Identity and Access Management (IAM) resources. This is necessary because your NannyML Cloud instance needs access to AWS License Manager to check for a valid license. A role with the AWSLicenseManagerConsumptionPolicy will be automatically created as part of the stack and associated with the EC2 instance running your NannyML Cloud instance.
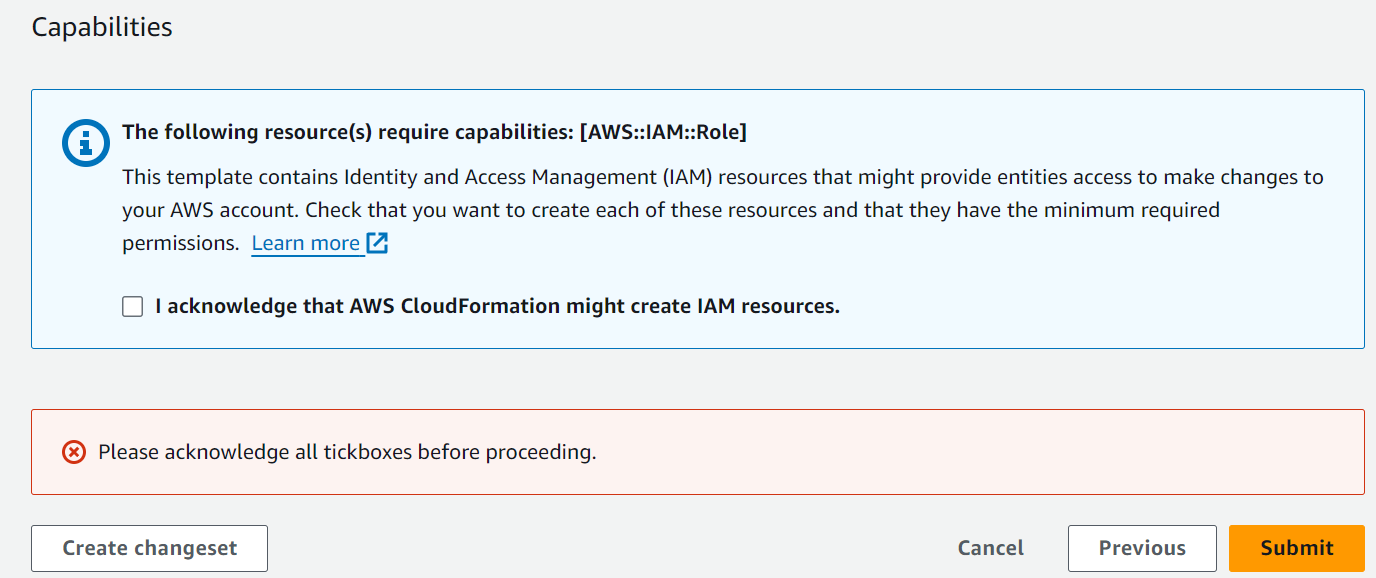
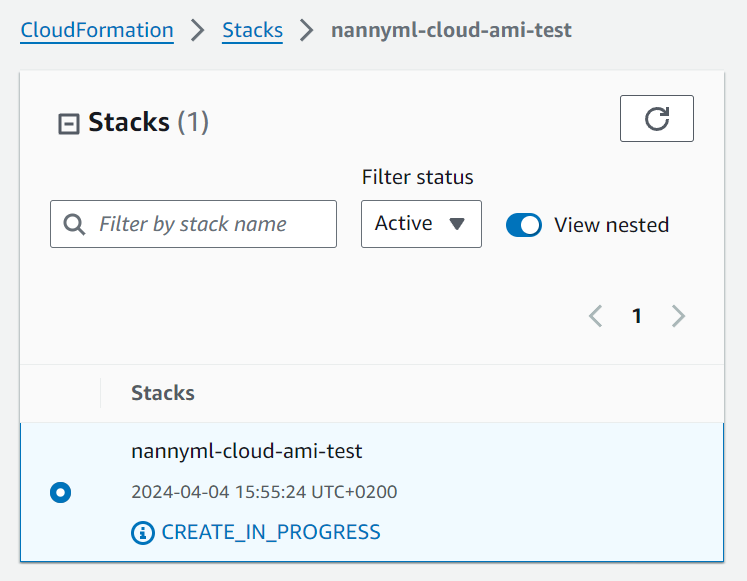
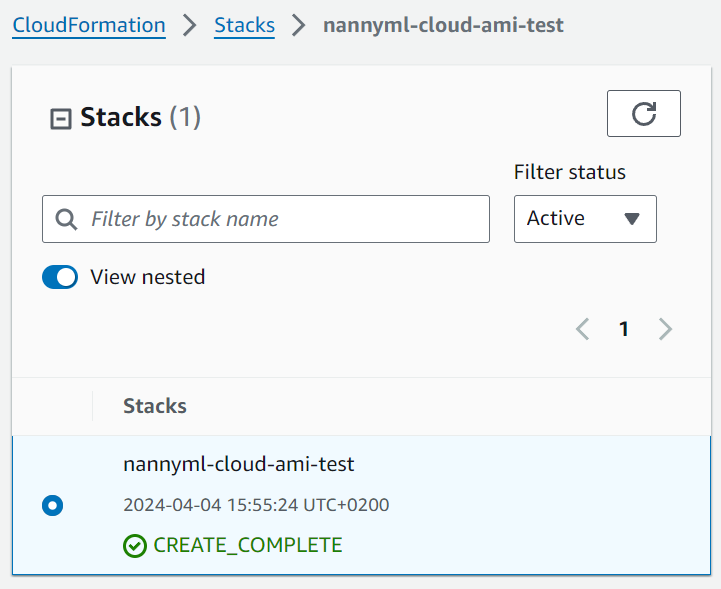
Finally click the Submit button to start the stack deployment using CloudFormation. You can monitor progress in the CloudFormation stacks panel. It will typically take around 3 minutes to deploy. Once the stack has successfully deployed you can continue with the next step.
If you chose to provide a custom domain name the stack deployment will not complete until you prove ownership of the domain to get a HTTPS certificate.
Domain configuration
If you chose to provide a custom domain name the stack deployment will not complete until you prove ownership of the domain to get a HTTPS certificate. To do so you will need to create a CNAME DNS record with a specific value.
Click the Events tab in the newly created CloudFormation stack, then enter certificate in the search bar and press enter to search. The most recent event has information about the DNS record you need to create in the Status reason column. Using the screenshot below as an example, a CNAME DNS record must be created with name _21045c14a8babdf88b98d05a30599ff9.aws-ami.demo.nannyml.com. and value _d250fcc9ff30e7a43bdafbdca401a671.mhbtsbpdnt.acm-validations.aws. to get a certificate for aws-ami.demo.nannyml.com.
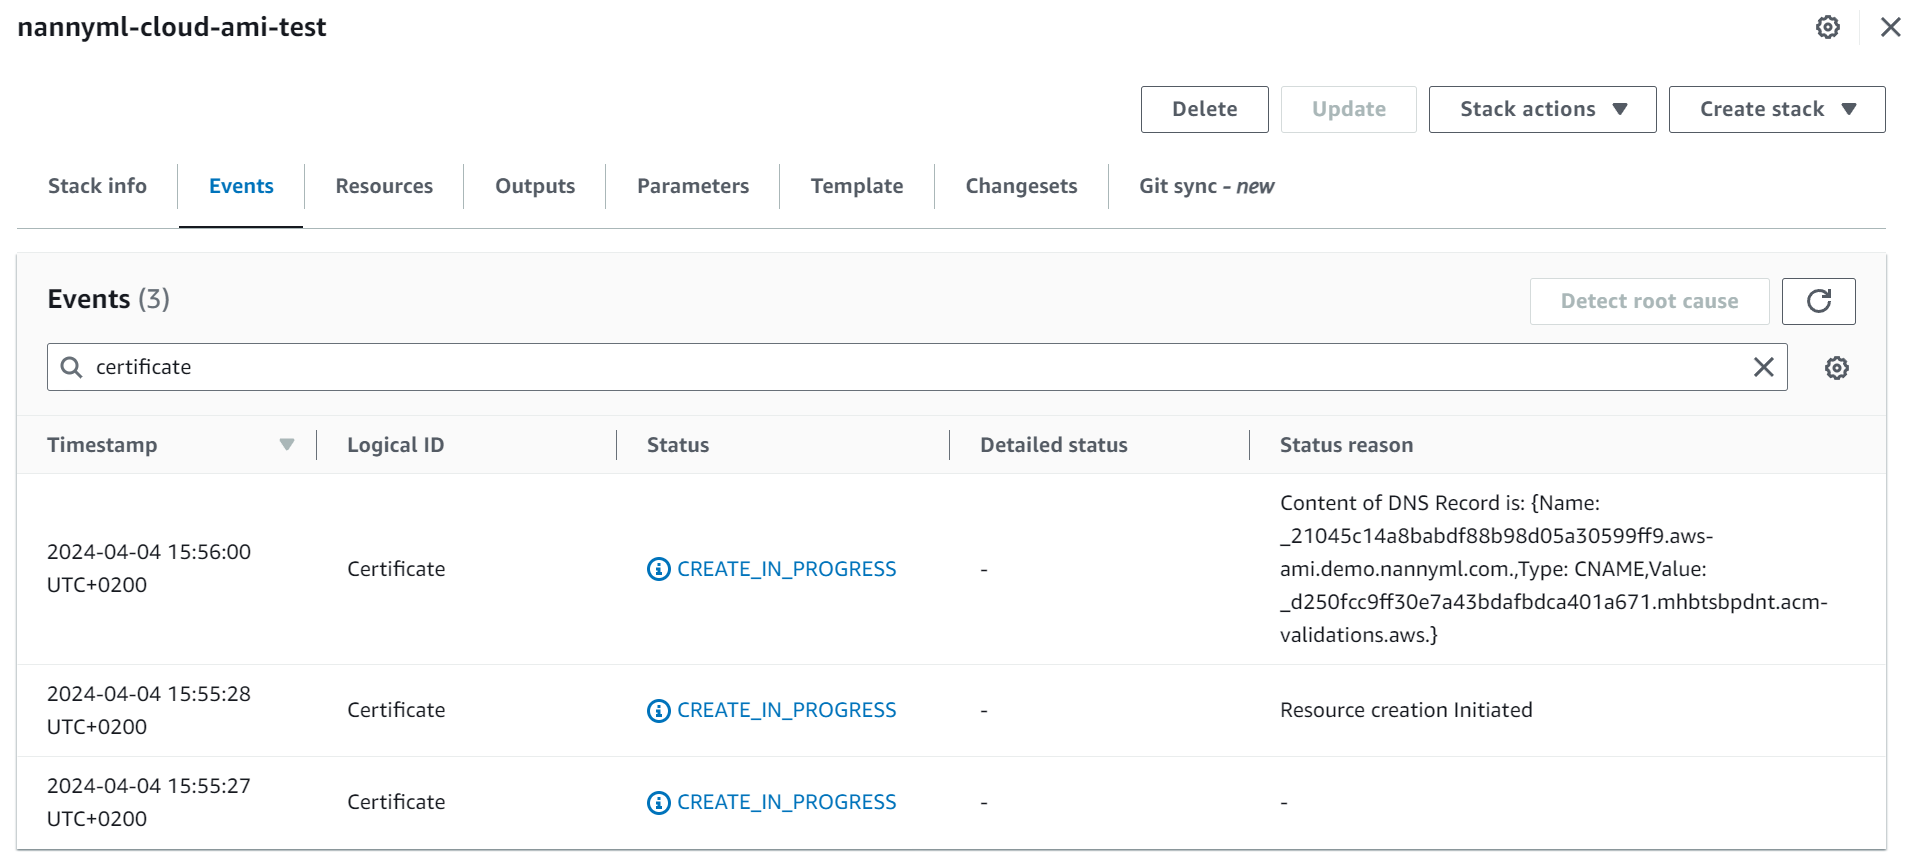
Once the DNS record is created it might take several minutes for AWS to validate it. After validation AWS Certificate Manager will issue a HTTPS certificate and the CloudFormation stack deployment will continue. Once the stack has successfully deployed you can continue with the next step.
If you've created the DNS record but nothing seems to happen after more than 20 minutes, you can check the status of your certificate in AWS Certificate Manager. Note the certificate will be created in the same region as the NannyML Cloud instance.
Accept the trial license
If you opted to purchase a license for NannyML Cloud, it will already be active and you can immediately access the application. If you're using a trial license, the license is issued to you when the software is first deployed. Depending on the policy configured for your AWS account, it may need to be accepted in the AWS environment before it can be used.
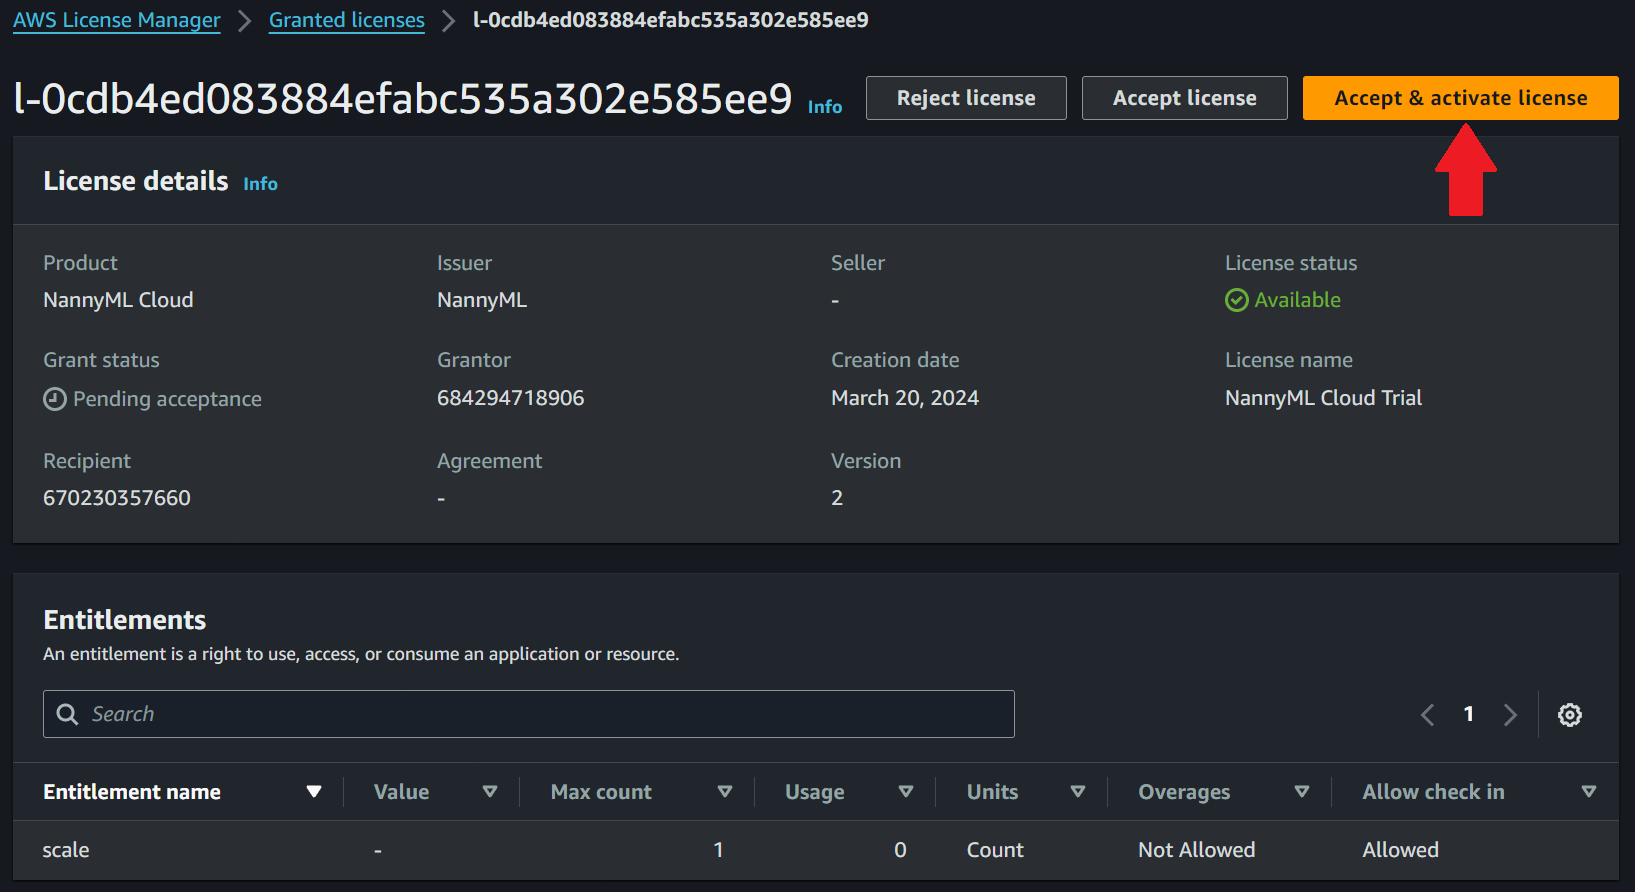
Access the list of licenses granted to your account on AWS License Manager. You should see a license for NannyML Cloud issued by NannyML as shown in the screenshot below. When the license is newly issued, it will be in Pending acceptance status.

If you have many licenses for your AWS account and can't immediately find the license in the list, search for product SKU fa6ce191-ac47-496a-9d57-05a36faf14c6.

Click the License ID column to view details for the license. Next click the Accept & activate license button in the top right and follow the instructions in the pop-up to activate your trial license.
The trial license comes with a few limitations:
Only one trial license is allowed per account. Once it has expired, you will need to purchase a license.
Delaying the license activation does not change the expiration date. It will expire 30 days from when it was issued, regardless of activation.
Only one NannyML Cloud instance can be active at a time using the trial license. When purchasing a license, you can opt to buy multiple licenses, enabling multiple instances.
Access the application
After the deployment is finished, you can find the application URL on the Outputs tab of the CloudFormation stack. Two parameters are shown here:
ApplicationUrl: The URL for your NannyML Cloud instance. If you chose to set a domain name in the CloudFormation wizard, this will point towards your specified domain. Otherwise it will show a dynamically generated URL by AWS.
LoadBalancerDNS: The address for the AWS Elastic Load Balancer (ELB). If you opted to set a domain name in the CloudFormation wizard, you should now set up a CNAME DNS record to redirect your domain to the ELB URL.
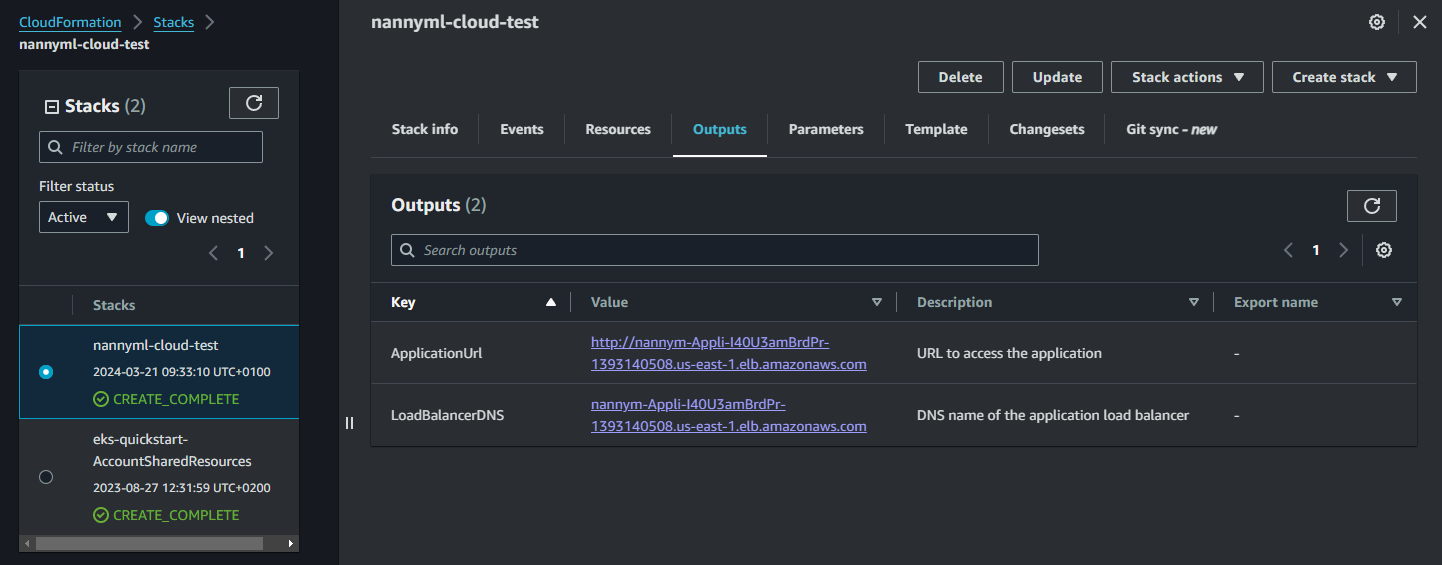
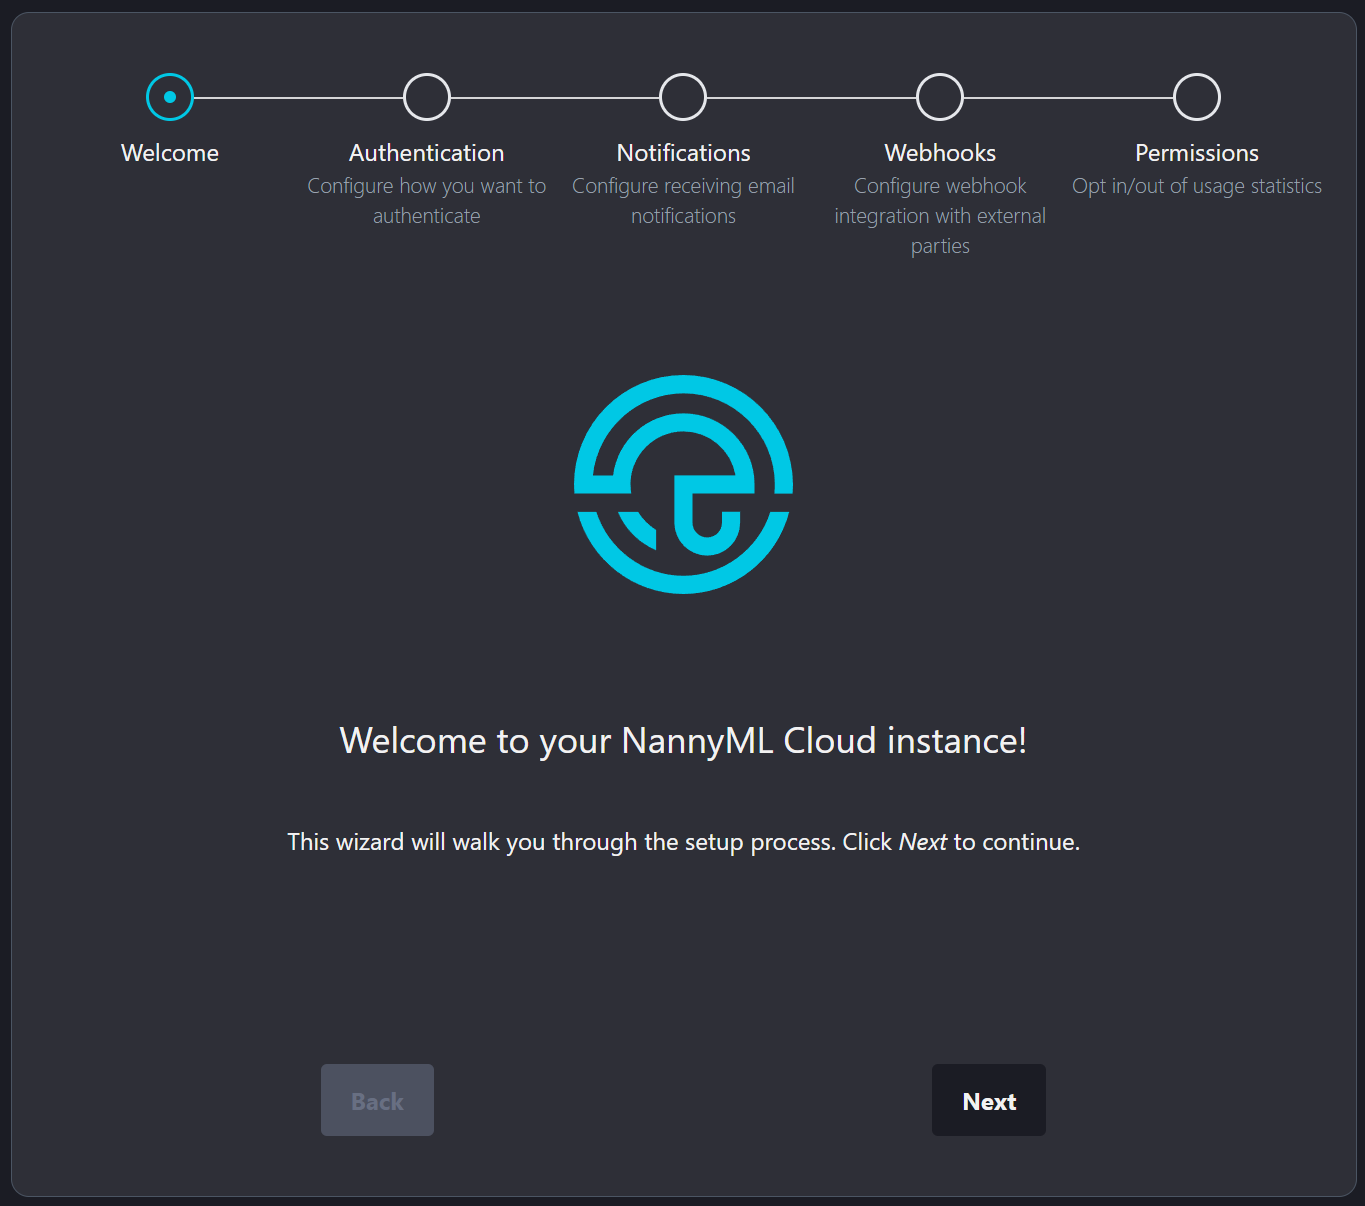
Access your NannyML Cloud instance by navigating to the specified ApplicationUrl. You should see a welcome screen for the wizard that will help you set up the application.
If you encounter a licensing error when using the trial make sure you've accepted the trial license for your account.
