NannyML Cloud
HomeBlogNannyML OSS Docs
v0.24.3
v0.24.3
  • ☂️Introduction
  • Model Monitoring
    • Quickstart
    • Data Preparation
      • How to get data ready for NannyML
    • Tutorials
      • Monitoring a tabular data model
      • Monitoring with segmentation
      • Monitoring a text classification model
      • Monitoring a computer vision model
    • How it works
      • Probabilistic Adaptive Performance Estimation (PAPE)
      • Reverse Concept Drift (RCD)
    • Custom Metrics
      • Creating Custom Metrics
        • Writing Functions for Binary Classification
        • Writing Functions for Multiclass Classification
        • Writing Functions for Regression
        • Handling Missing Values
        • Advanced Tutorial: Creating a MTBF Custom Metric
      • Adding a Custom Metric through NannyML SDK
    • Reporting
      • Creating a new report
      • Report structure
      • Exporting a report
      • Managing reports
      • Report template
      • Add to report feature
  • Product tour
    • Navigation
    • Adding a model
    • Model overview
    • Deleting a model
    • Model side panel
      • Summary
      • Performance
      • Concept drift
      • Covariate shift
      • Data quality
      • Logs
      • Model settings
        • General
        • Data
        • Performance settings
        • Concept Drift settings
        • Covariate Shift settings
        • Descriptive Statistics settings
        • Data Quality settings
    • Account settings
  • Deployment
    • Azure
      • Azure Managed Application
        • Finding the URL to access managed NannyML Cloud
        • Enabling access to storage
      • Azure Software-as-a-Service (SaaS)
    • AWS
      • AMI with CFT
        • Architecture
      • EKS
        • Quick start cluster setup
      • S3 Access
    • Application setup
      • Authentication
      • Notifications
      • Webhooks
      • Permissions
  • NannyML Cloud SDK
    • Getting Started
    • Example
      • Authentication & loading data
      • Setting up the model schema
      • Creating the monitoring model
      • Customizing the monitoring model settings
      • Setting up continuous monitoring
      • Add delayed ground truth (optional)
    • API Reference
  • Probabilistic Model Evaluation
    • Introduction
    • Tutorials
      • Evaluating a binary classification model
      • Data Preparation
    • How it works
      • HDI+ROPE (with minimum precision)
      • Getting Probability Distribution of a Performance Metric with targets
      • Getting Probability Distribution of Performance Metric without targets
      • Getting Probability Distribution of Performance Metric when some observations have labels
      • Defaults for ROPE and estimation precision
  • Experiments Module
    • Introduction
    • Tutorials
      • Running an A/B test
      • Data Preparation
    • How it works
      • Getting probability distribution of the difference of binary downstream metrics
  • miscellaneous
    • Engineering
    • Usage logging in NannyNL
    • Versions
      • Version 0.24.3
      • Version 0.24.2
      • Version 0.24.1
      • Version 0.24.0
      • Version 0.23.0
      • Version 0.22.0
      • Version 0.21.0
Powered by GitBook
On this page
  • No authentication
  • Local authentication
  • OIDC Authentication
  1. Deployment
  2. Application setup

Authentication

PreviousApplication setupNextNotifications

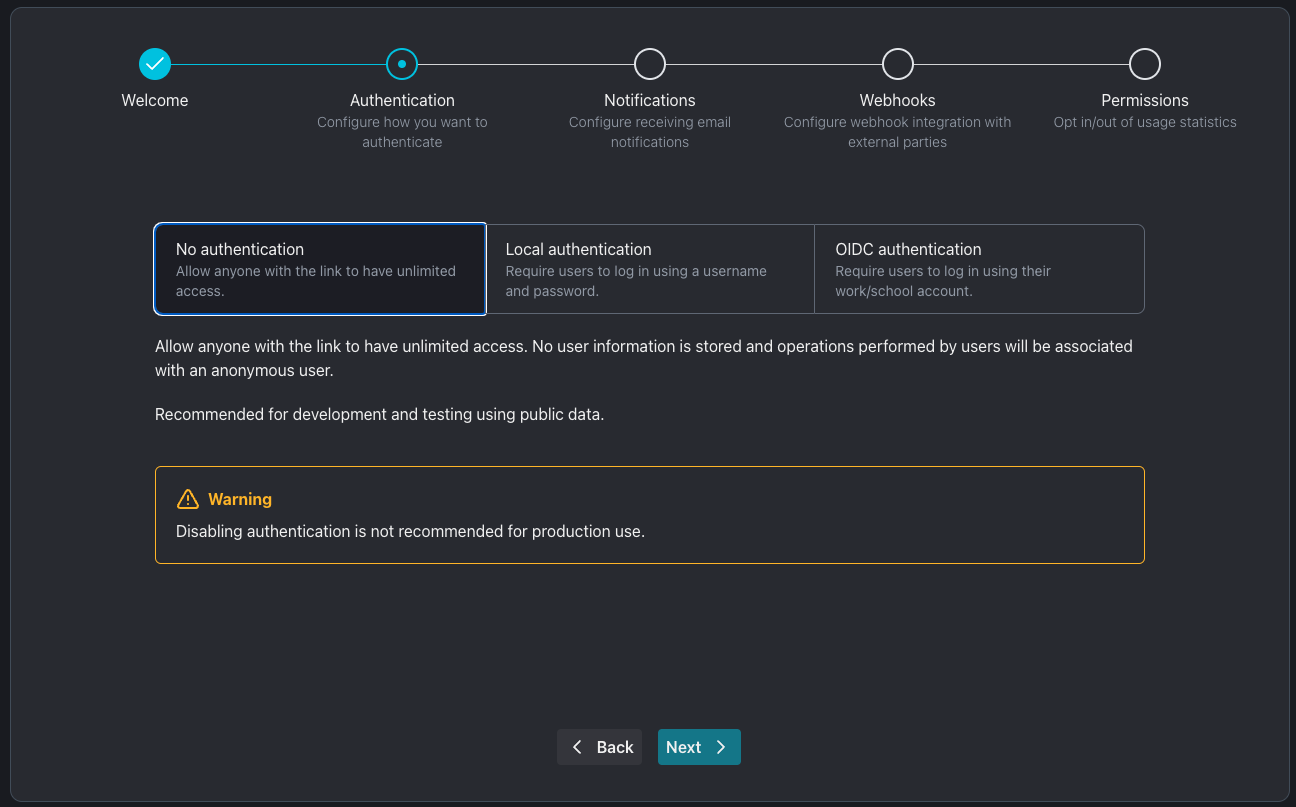
NannyML Cloud supports three authentication methods:

  • No authentication: public access to your NannyML Cloud instance

  • Local authentication: use a predetermined list of usernames and passwords to restrict access to your NannyML Cloud instance

  • OIDC: use an external Identity Provider such as Microsoft to restrict access to your NannyML Cloud instance

No authentication
Local authentication

By choosing local authentication you can define a list of users who can access NannyML cloud. Each user requires an email, and a password. After creating a user, it is possible to delete them, but it is not possible to update the user information. This means updating the user password requires deleting and re-creating the user.
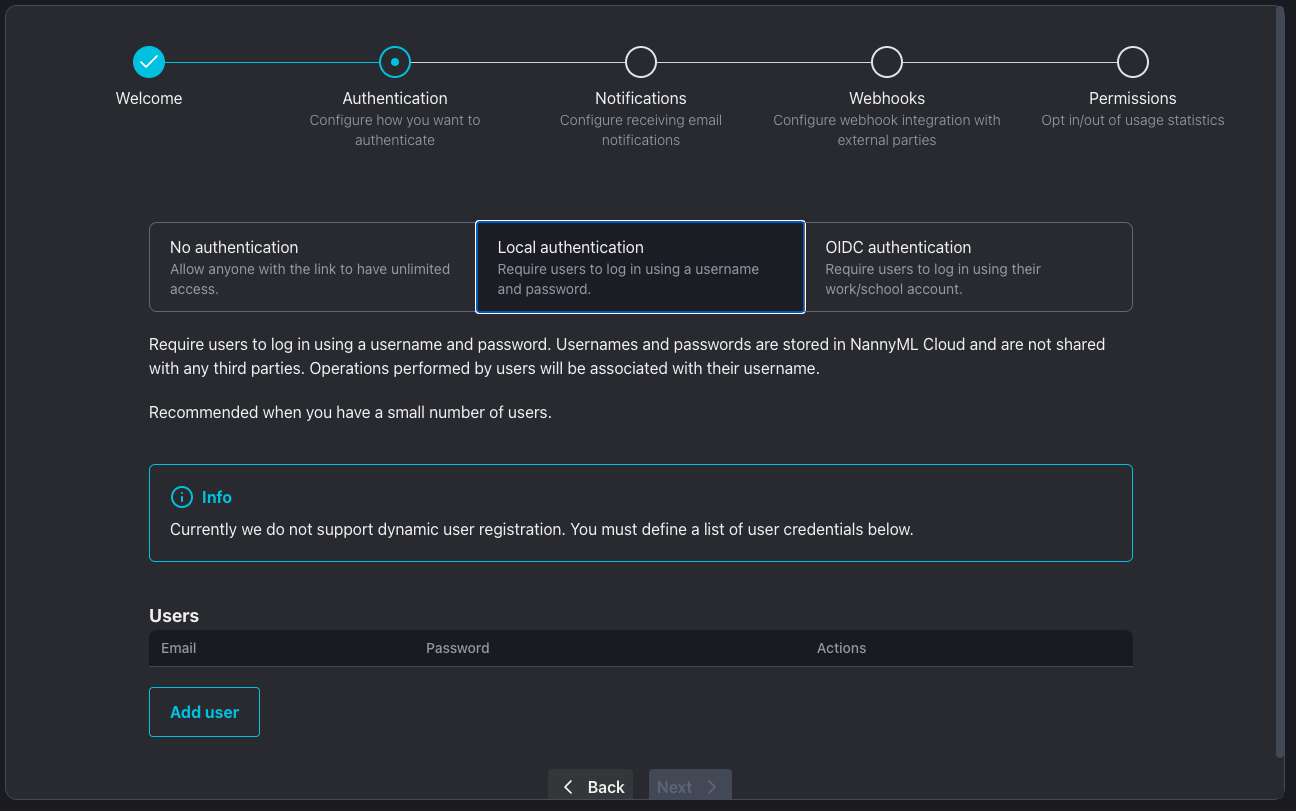
You need to add the users manually, setting up the user email and password for each one of them.
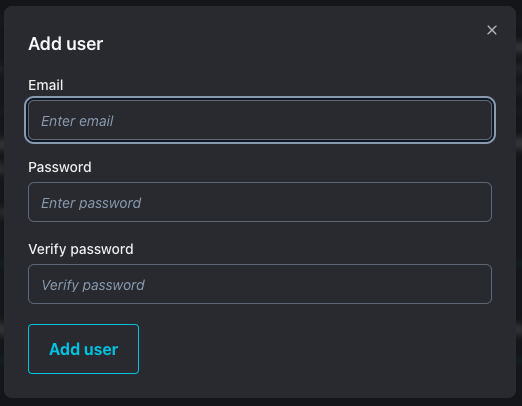
The chosen password will appear protected under asterisks symbol '****'. Although the password is not openly displayed, ti is a good practice to use a password manager app to create and share the new password with the new user.

OIDC Authentication

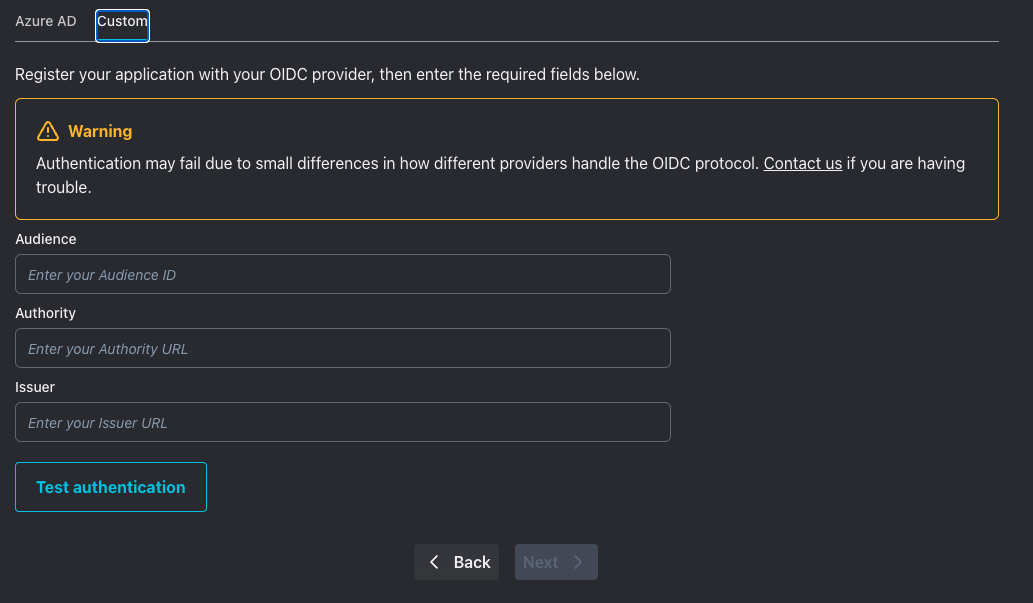
By choosing OIDC authentication, you can add your authentication provider to authorize your users to access NannyML Cloud. You can use built in Azure AD or register your OIDC provider.
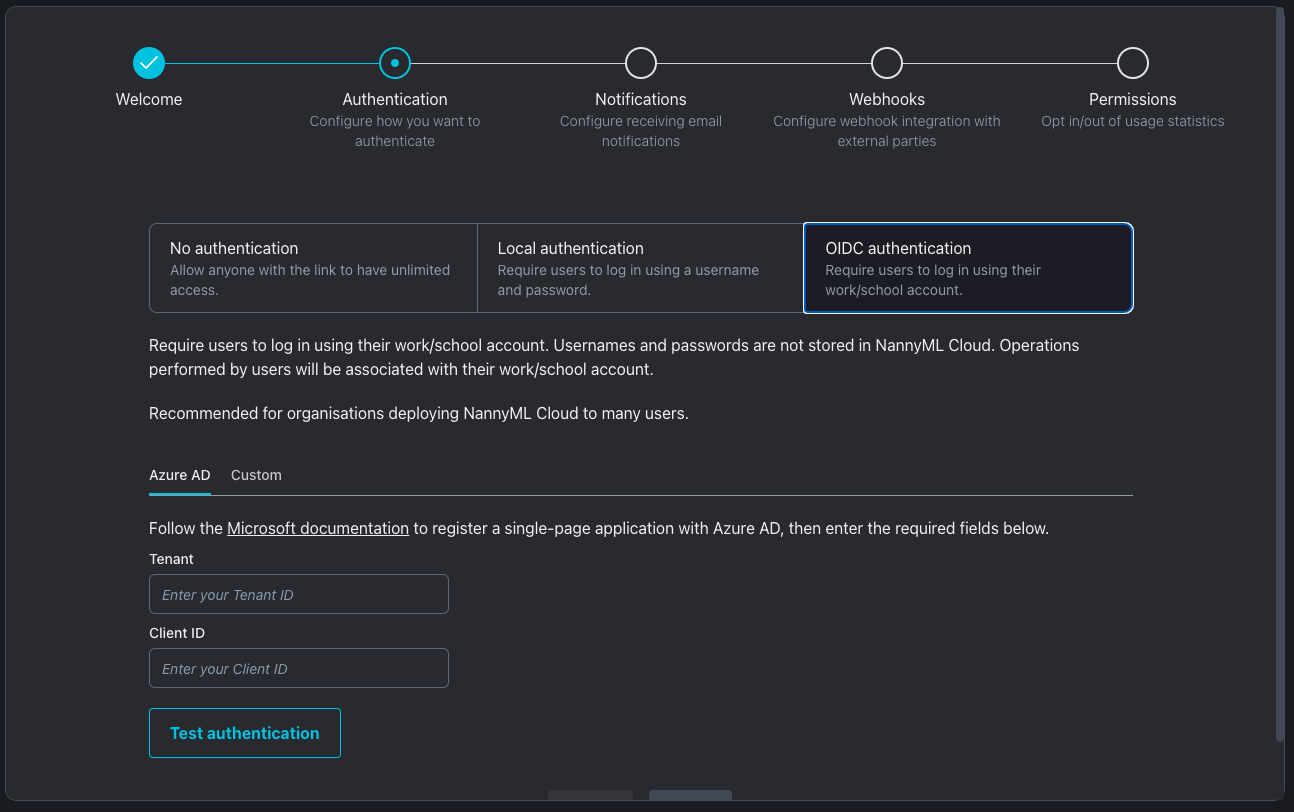
On custom setup, you need to provide:

  • Audience ID: A client id token issued by the OAuth 2.0 provider.

  • Authority URL: A public login URL for the OAuth 2.0 pointing to your tenant

  • Issuer URL: The OIDC issuer URL

Before saving the new configuration changes, remember to test the new configuration setting by clicking on Test authentication. When you click on the Test authentication button, you get redirected to the login page to test the login flow. If the login works, you get back to NannyML Cloud page.

Azure AD requires you to provide your tenant ID and client id. you can find instructions on how to find these information on documentation.

You can find more information about setting up OIDC on this .

Microsoft configuration
documentation
No authentication allows anyone with an URL to access your NannyML instance
Azure AD option
Custom OIDC option