Adding a model
Two methods are available to add a model to NannyML Cloud. The optimal way is to do it programmatically, which can be found on the NannyML SDK Cloud page. Alternatively, you can manually add the model using the NannyML Cloud UI, which we'll explain here.
If you prefer a video walkthrough and you upload your data from Azure, here's our YouTube guide:
1. Press "Add model" in the navigation bar

The button will open the Add new model wizard displaying the required steps to add your new model.
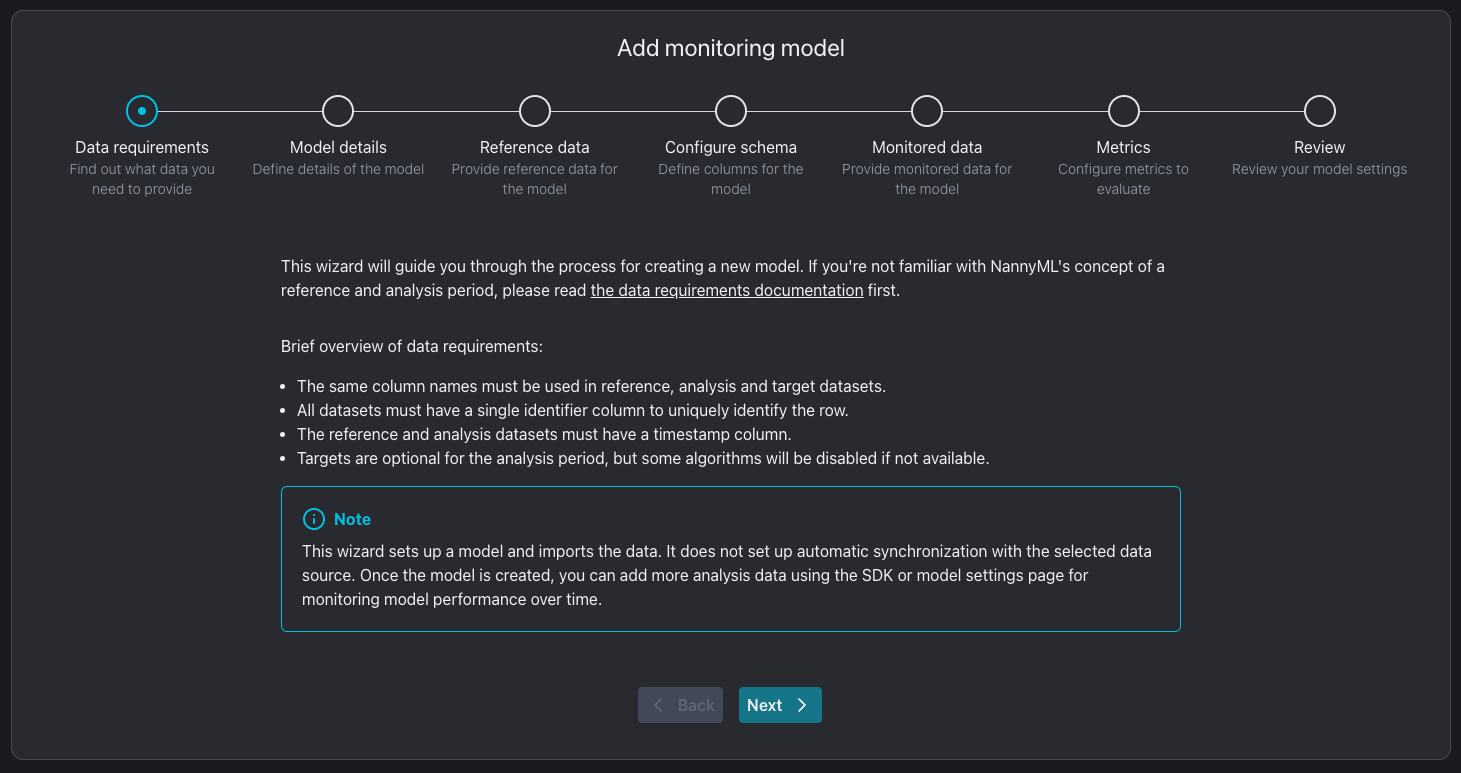
2. Provide model information
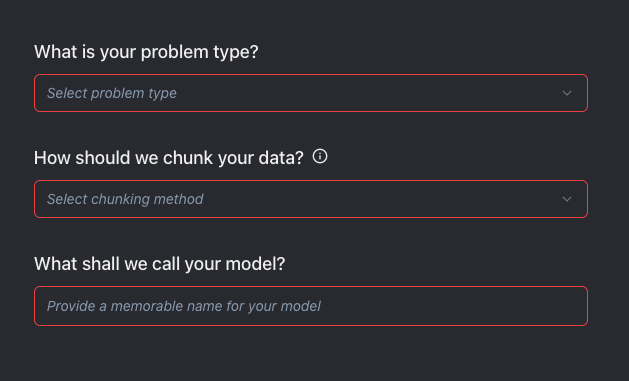
You need to provide four pieces of information about your model:
The machine learning problem type The type of problem the machine learning model is dealing with. The different options are binary classification, multiclass classification, and regression. This has lots of implications. It impacts what type of model output and target data NannyML is expecting and which metrics NannyML can calculate. This cannot be changed later.
How the data has to be chunked Chunking determines how metrics will be aggregated, i.e. the granularity of the monitoring analysis. The options are either time-based or size-based. For time-based chunking the options are daily, weekly, monthly, quarterly, and yearly chunking. For size-based chunking you can select a chunk size; i.e. a number of records to have in a single chunk. The last chunk may not be completely "filled" if there are not enough records. It will be recomputed automatically as more records are added and the chunk "fills up". The chunking unit can always be changed later in the model settings.
The model name A simple name for your model. This name can be changed after the model creation on the model settings.
We currently only support time-based and size-based chunking; if you need support for number-based chunking, contact us.
3. Configure the reference dataset
The reference dataset is the dataset NannyML will use as a baseline for monitoring your model. This dataset ideally represents a time when the model worked as expected. The ideal candidate for this is the test set. You need to point NannyML to where this dataset is located and provide some basic information about the dataset schema.
Point nannyML to the reference dataset location\

Pick one of the following upload options:
Provide a public URL
If the dataset is accessible via a public URL, you can provide that link here:

To try out NannyML, use one of our public datasets on GitHub. Here is a link to the synthetic car price prediction - reference dataset:
Provide Azure blob storage location
There are four fields on the configuration page:
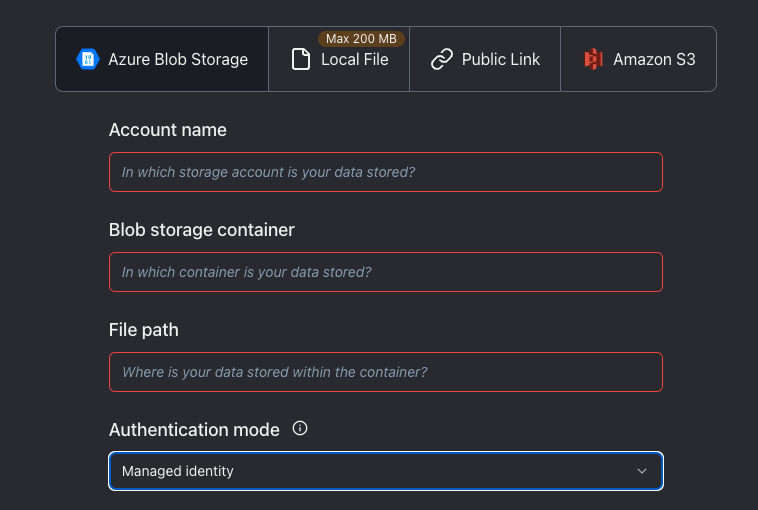
The first three fields are mandatory and related to the location of the dataset:
Azure Account Name
Blob storage container
File path
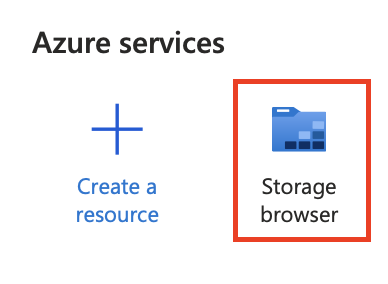
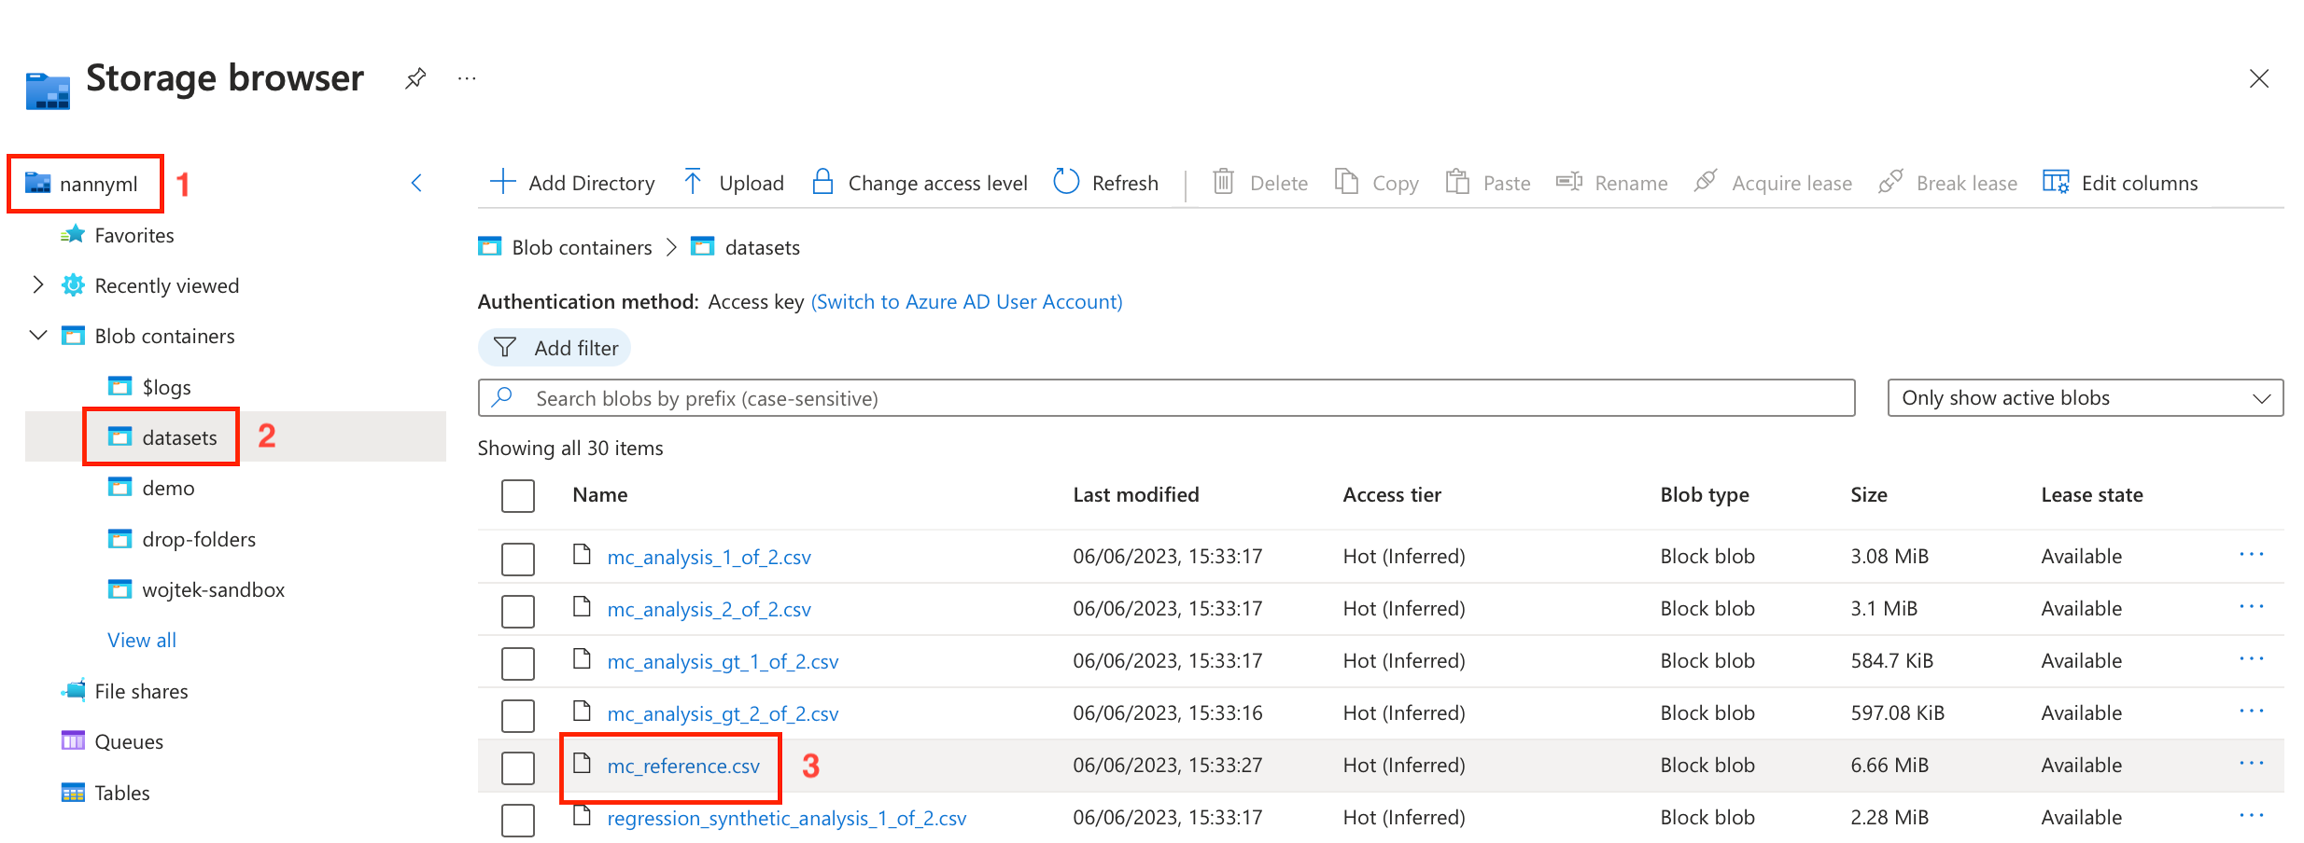
The easiest way to obtain the right values for the respective fields is by going to the Azure storage browser via the Azure portal:
The values for the first three fields can be derived as follows:
The last field provide ways of accessing/authenticating the blob storage. Only one of them has to be provided:
If "Is public*" is enabled, NannyML will try to connect without credentials (only possible if the account is configured to allow for public access)
The Account key is a secret key that gives access to all the files in the storage account. It can be found through the Azure portal. Link to the Microsoft docs.
The Sas Token is a temporary token that allows NannyML to impersonate the user. It has to be specifically created when doing the onboarding. Link to the Microsoft docs.
Provide AWS S3 storage location
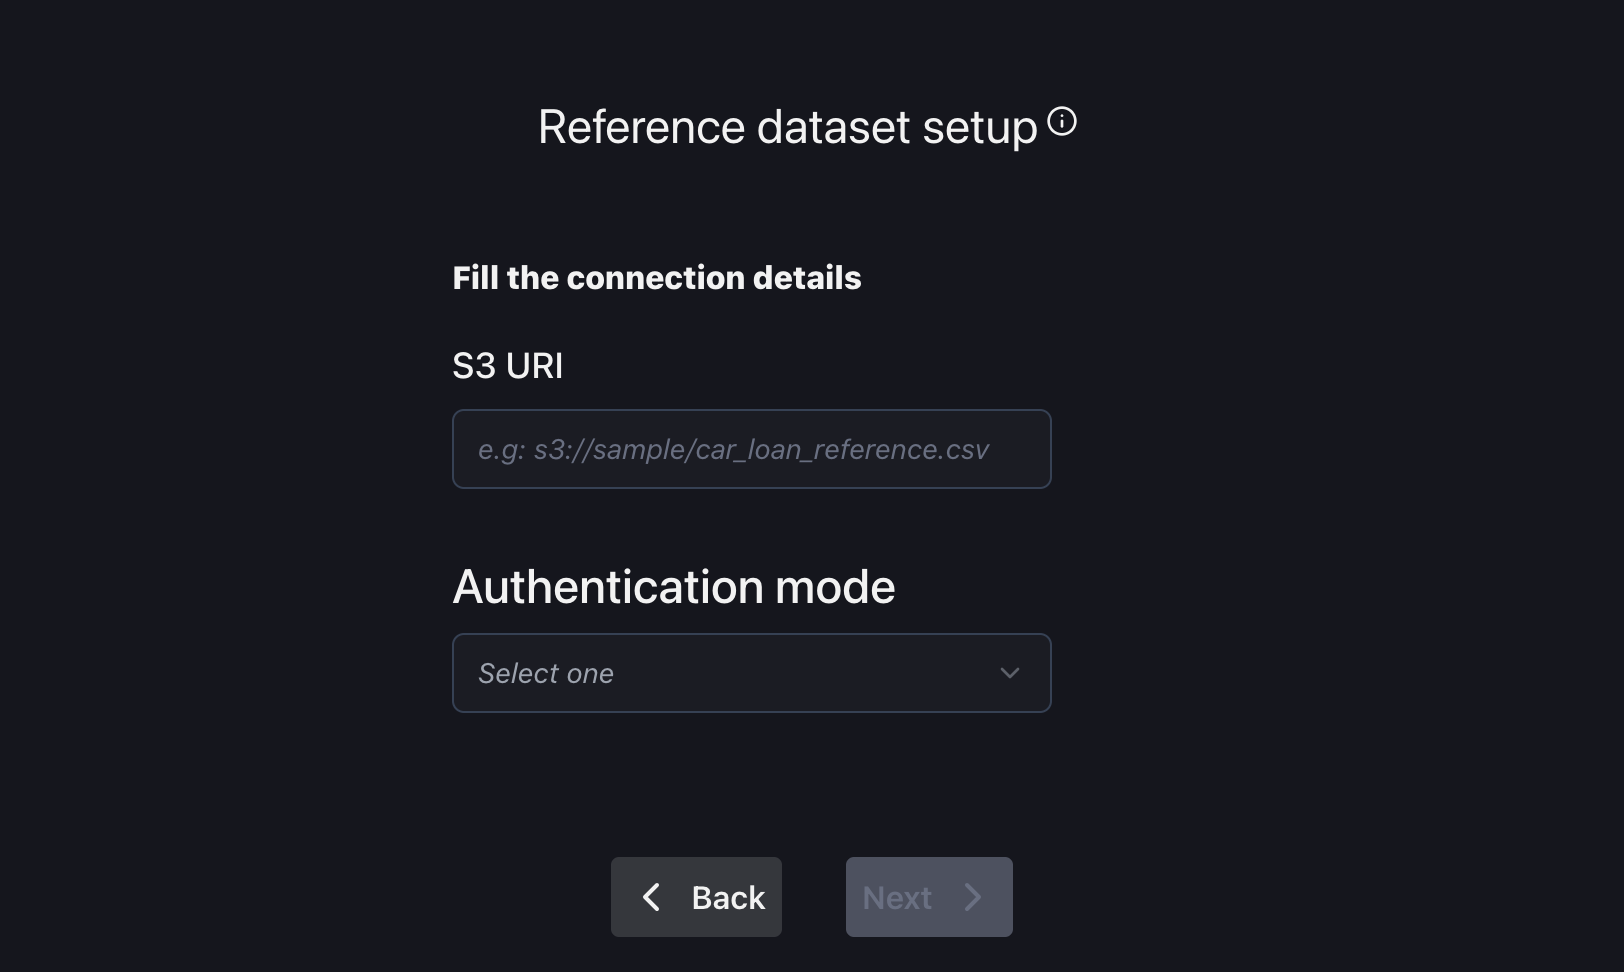
In this configuration, there are just two fields: one for the URI to your S3 bucket and another for the authentication mode, with options including anonymous, integrated, and access key.
Upload via local file system
If you have your dataset downloaded to your computer and it is smaller than 100 MB, you can upload it directly to NannyML Cloud.
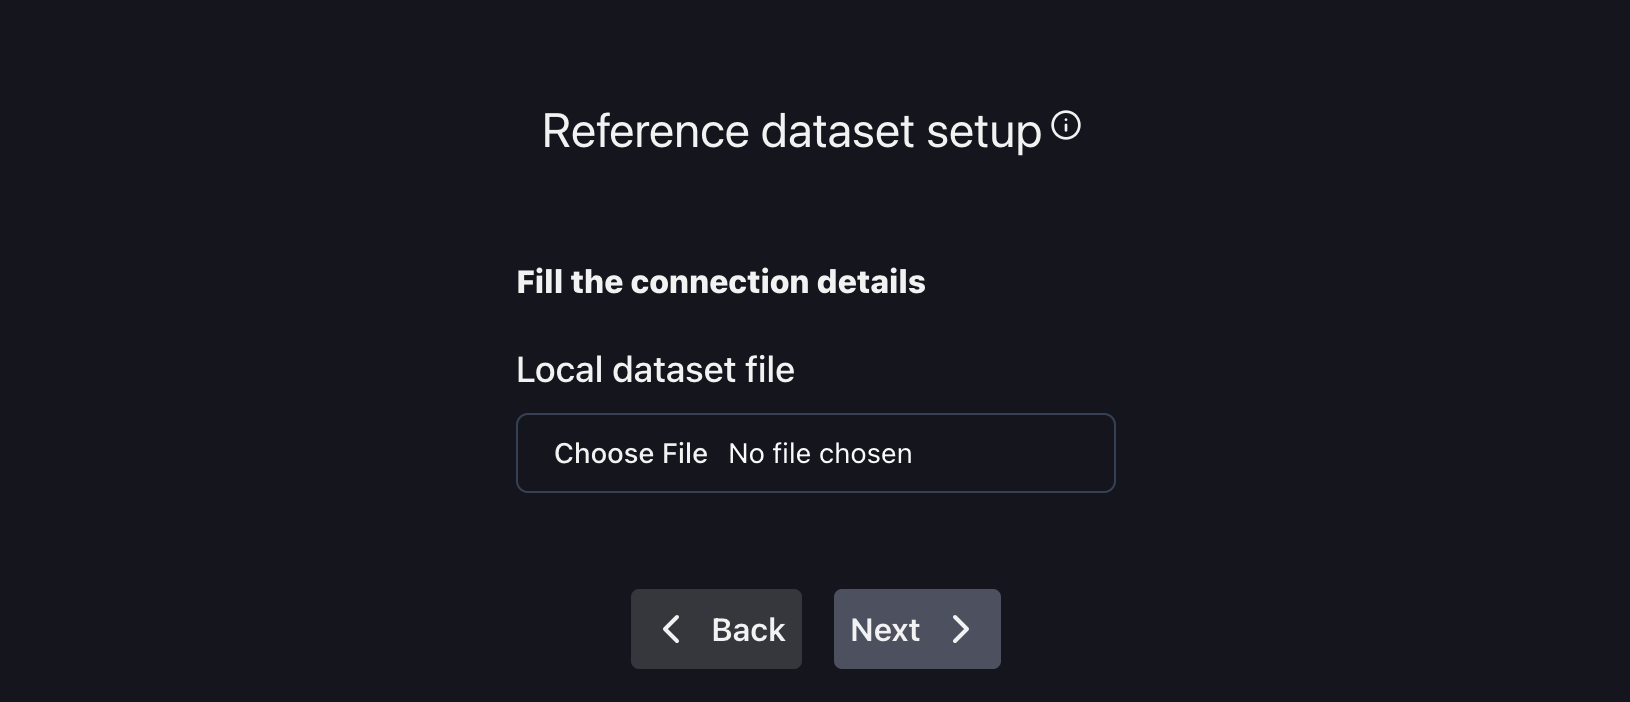
We recommend using parquet files when uploading data using the user interface.
NannyML Cloud supports both parquet and CSV files, but CSV files don't store data type information. CSV files may cause incorrect data types to be inferred. If you later add more data to the model using the SDK or using parquet format, a data type conflict may occur.
Provide reference dataset information
NannyML requires schema information about the reference dataset. While it automatically gets column details, it's always wise to double-check. The most critical columns to define are listed on the left. The columns you need to specify depend on the type of machine-learning problem you chose at the beginning of this workflow. All other columns are automatically treated as features. Additionally, NannyML automatically detects the data types of these feature columns.
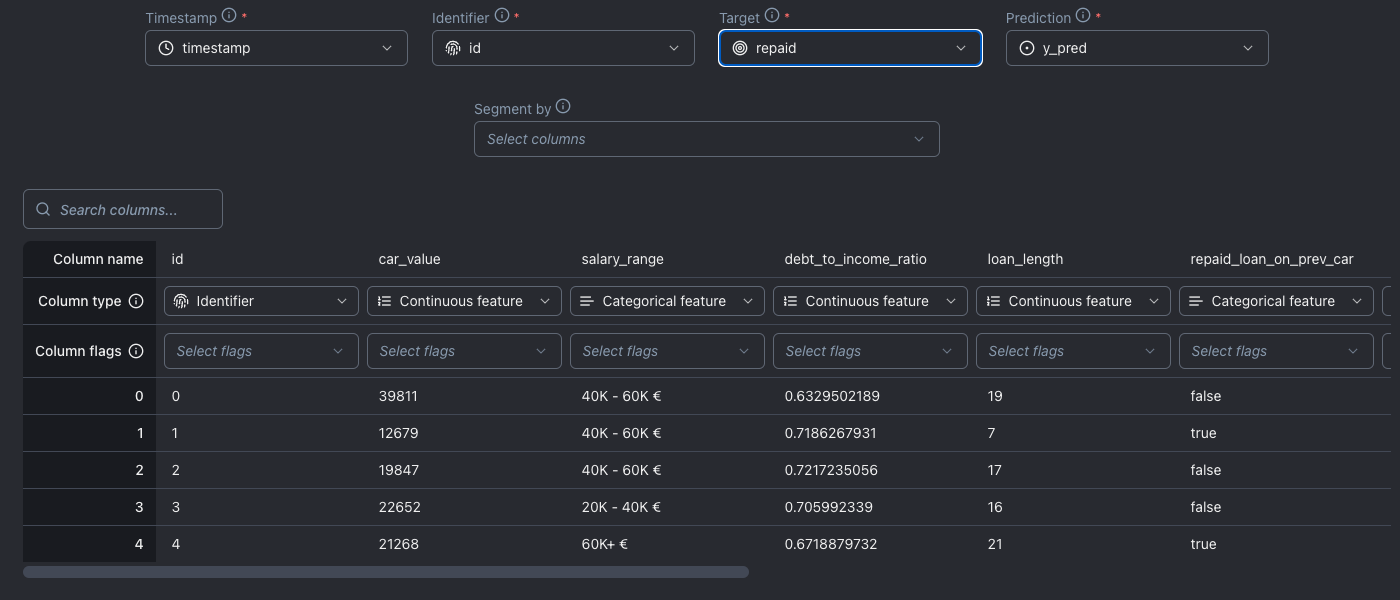
The following columns have to be specified:
Timestamp This provides NannyML with the date and time that the prediction was made.
Prediction The model output that the model predicted for its target outcome.
Target The ground truth or actual outcome of what the model is predicting.
Identifier A unique identifier for each row in the dataset. NannyML will use this column to join analysis and target data sources.
The mapping of the columns can be changed when scrolling horizontally. It is possible to ignore specific columns or flag columns that should be used for joining predictions and targets later. Select one or more columns in the Segment by select box to flag them as sources for segments. This causes metrics to also be computed on subsets of your data, one for each distinct value in the column marked as a segmentation source.
Alternatively, you can configure segmentation by adding a Segment by flag in the Column flags section in the for the columns you wish to segment.
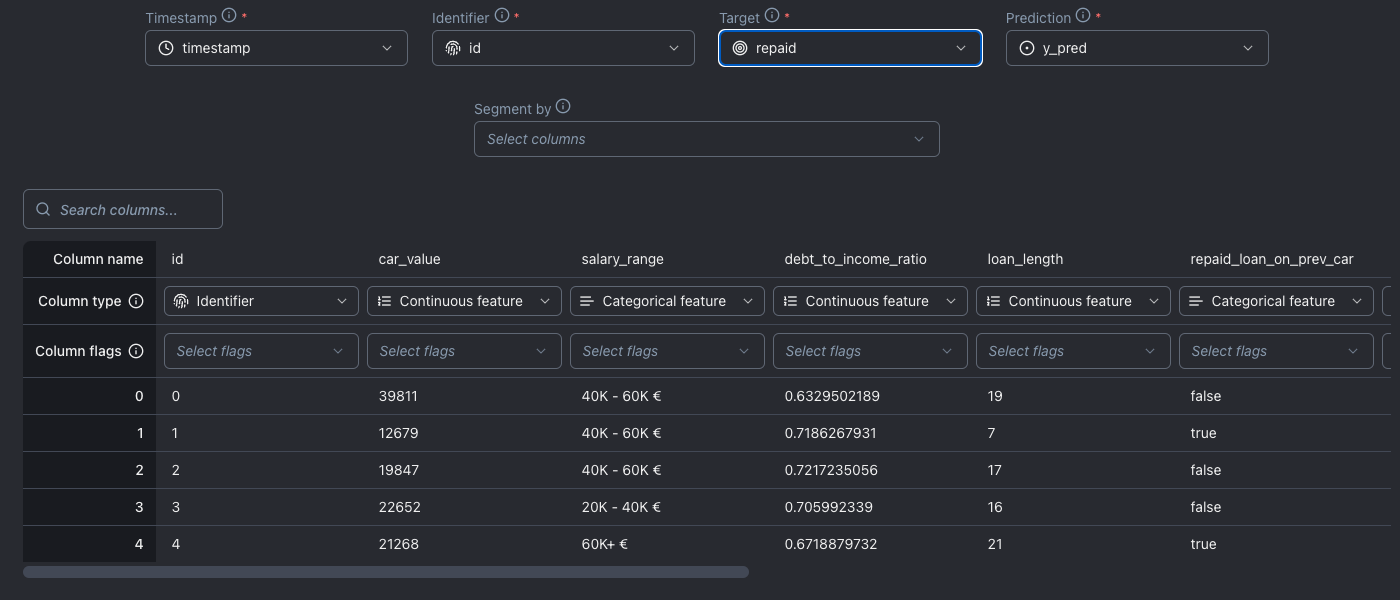
The following columns have to be specified:
Timestamp This provides NannyML with the date and time that the prediction was made.
Prediction The model output that the model predicts for its target outcome.
Prediction score The model output scores or probabilities that the model predicts for its target outcome.
Target The ground truth or actual outcome of what the model is predicting.
Identifier A unique identifier for each row in the dataset. NannyML will use this column to join analysis and target data sources.
The mapping of the columns can be changed when scrolling horizontally. It is possible to ignore specific columns or flag columns that should be used for joining predictions and targets later. Select one or more columns in the Segment by select box to flag them as sources for segments. This causes metrics to also be computed on subsets of your data, one for each distinct value in the column marked as a segmentation source.
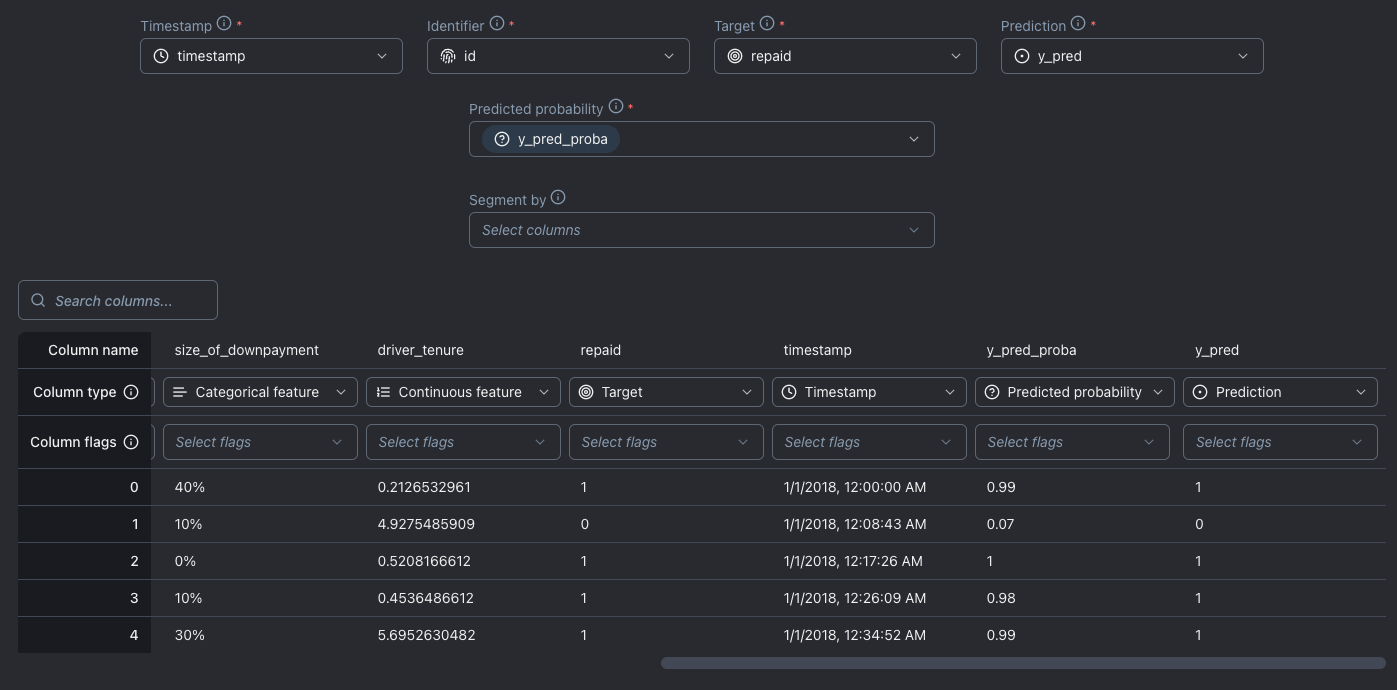
The following columns have to be specified:
Timestamp This provides NannyML with the date and time that the prediction was made.
Prediction The model output that the model predicts for its target outcome.
Target The ground truth or actual outcome of what the model is predicting.
Identifier A unique identifier for each row in the dataset. NannyML will use this column to join analysis and target data sources.
Predicted probability The probabilities assigned by a machine learning model regarding the chance that a positive event materializes for the binary outcome it was called to predict. It is possible to select multiple columns as a "Predicted probability".
The mapping of the columns can be changed when scrolling horizontally. It is possible to ignore specific columns or flag columns that should be used for joining predictions and targets later.
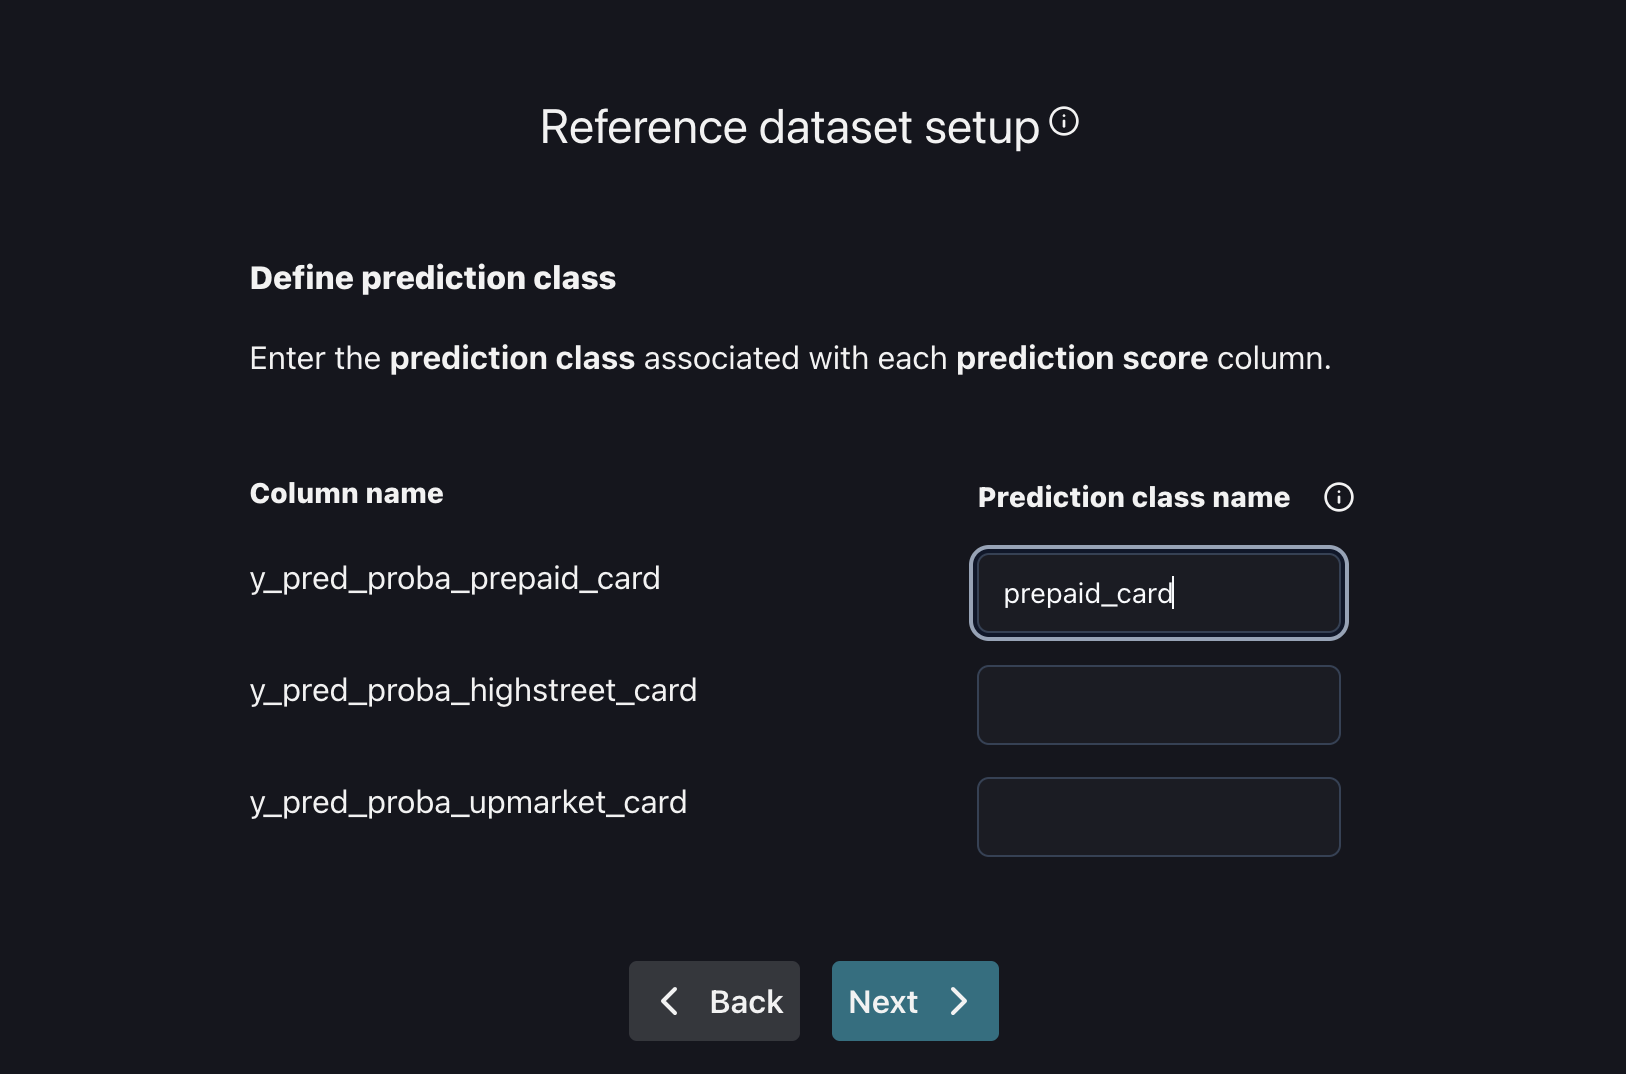
After the columns that were selected as "prediction score," you need to map the classes that those scores belong to:
Select one or more columns in the Segment by select box to flag them as sources for segments. This causes metrics to also be computed on subsets of your data, one for each distinct value in the column marked as a segmentation source.
4. Configure the monitoring model
The monitoring model is what NannyML uses to analyze the performance of the monitored model. Typically, it will consist of the latest production data up to a desired point in the past, which should be after the reference dataset ends.
Note: NannyML assumes that the schema of the analysis dataset is the same as the reference dataset.
Point nannyML to the monitoring model dataset location
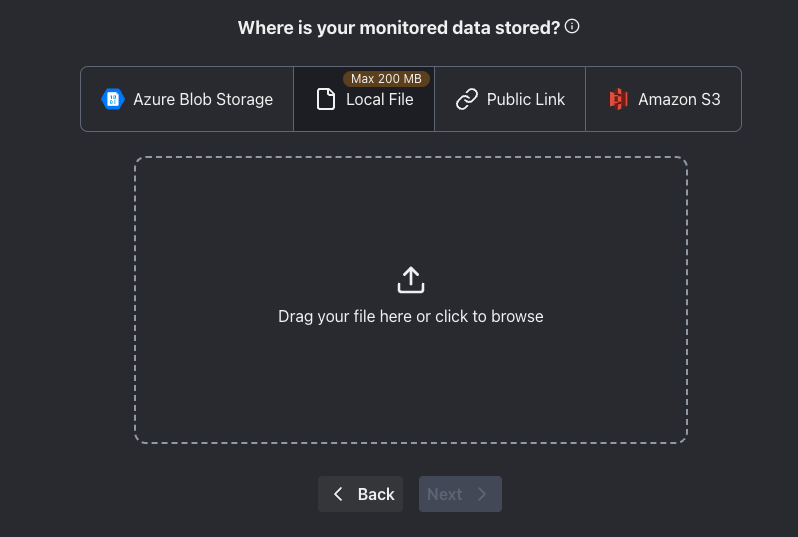
Pick one of the following options:
Provide a public URL
If the dataset is accessible via a public URL, you can provide that link here:

To try out NannyML, you can use one of our public datasets on GitHub. Here is a link to the synthetic car price prediction-analysis dataset:
Provide Azure blob storage location
There are six fields on the configuration page. If you have also used Azure blob storage for the reference dataset, the relevant fields will already be filled in, and only the file path has to be provided, assuming the analysis dataset is stored in the same Blob storage container:
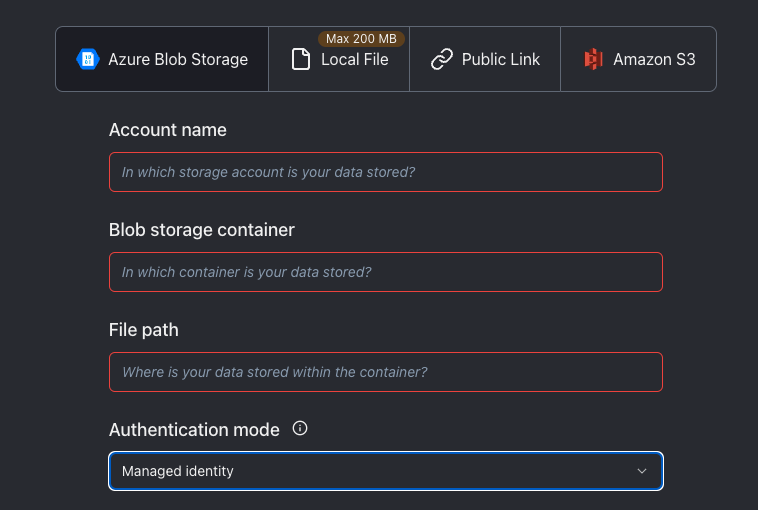
The first three fields are mandatory and related to the location of the dataset:
Azure Account Name
Blob storage container
File path
The easiest way to obtain the right values for the respective fields is by going to the Azure storage browser via the Azure portal:

The values for the first three fields can be derived as follows:

The last three fields provide ways of accessing/authenticating the blob storage. Only one of them has to be provided:
If "Is public*" is enabled, NannyML will try to connect without credentials (only possible if the account is configured to allow for public access)
The Account key is a secret key that gives access to all the files in the storage account. It can be found through the Azure portal. Link to the Microsoft docs.
The Sas Token is a temporary token that allows NannyML to impersonate the user. It has to be specifically created when doing the onboarding. Link to the Microsoft docs.
Provide AWS S3 storage location
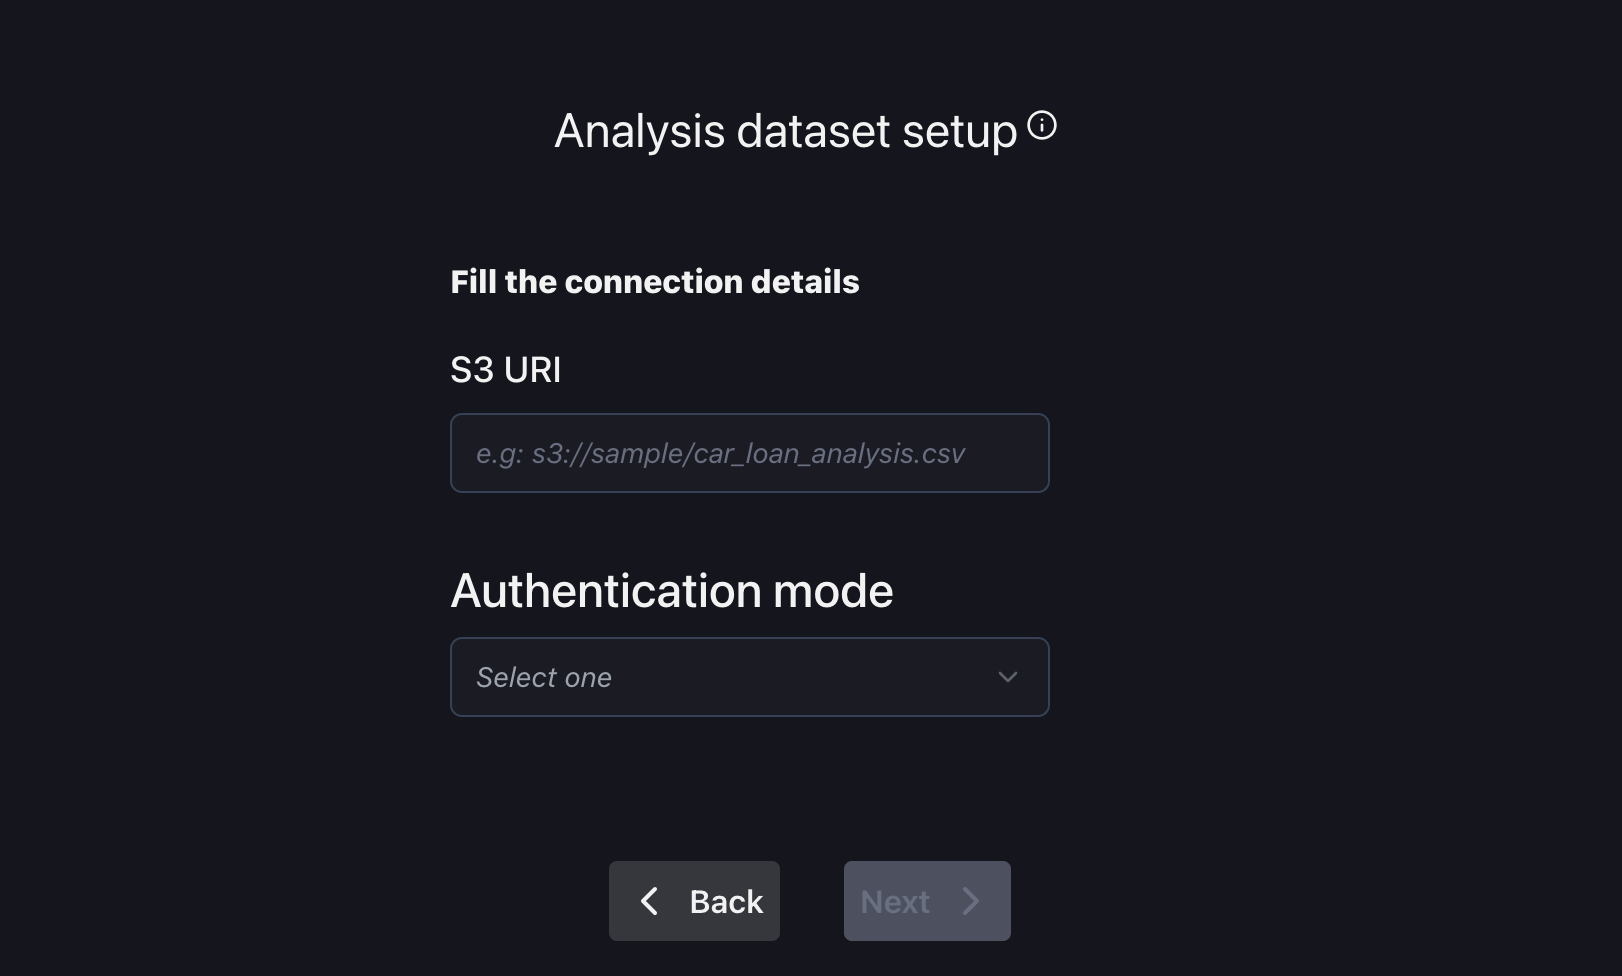
In this configuration, there are just two fields: one for the URI to your S3 bucket and another for the authentication mode, with options including anonymous, integrated, and access key.
Upload via local file system
If you have your dataset downloaded to your computer and it is smaller than 100 MB, you can upload it directly to nannyML Cloud.
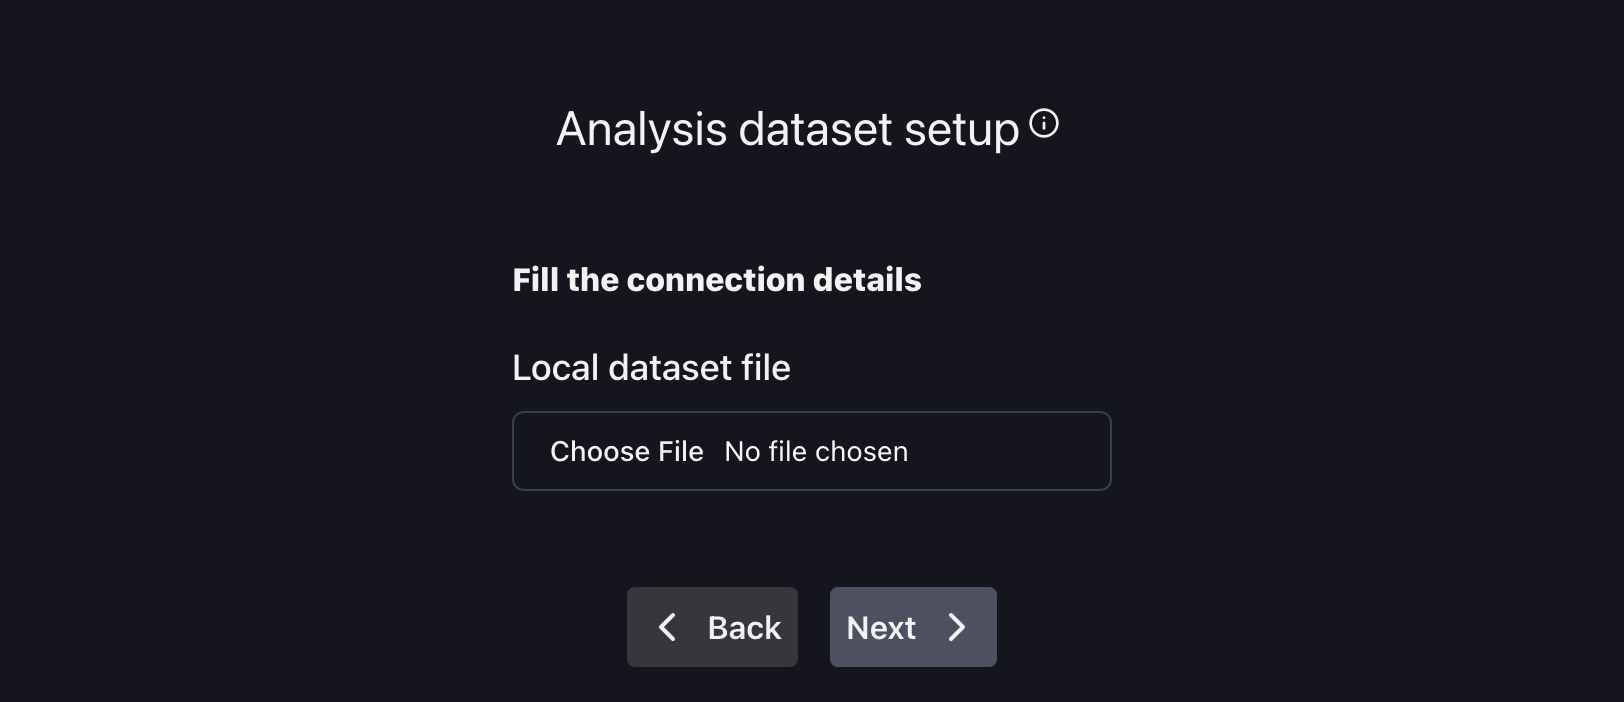
We recommend using parquet files when uploading data using the user interface.
NannyML Cloud supports both parquet and CSV files, but CSV files don't store data type information. CSV files may cause incorrect data types to be inferred. If you later add more data to the model using the SDK or using parquet format, a data type conflict may occur.
5. Configure the monitored dataset
This step is only necessary when targets are not part of the analysis dataset and when they are available.
Note: NannyML expects the identifier and target column to be present in the monitored dataset.
Point nannyML to the monitored dataset location
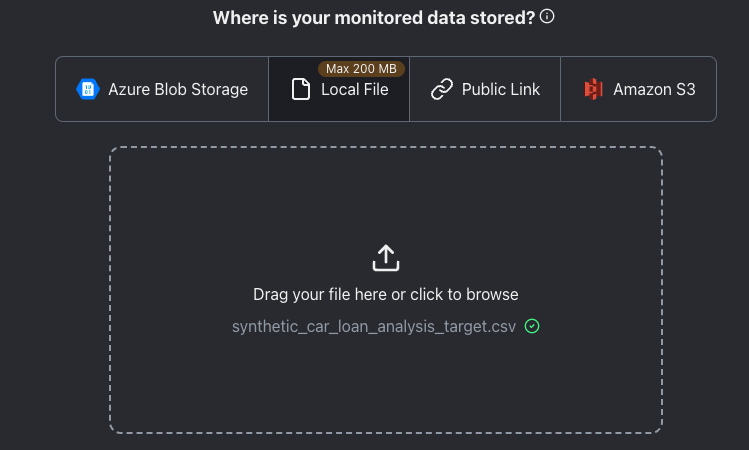
Pick one of the following options:
Provide a public URL
If the dataset is accessible via a public URL, you can provide that link here:

To try out NannyML, you can use one of our public datasets on Git Hub. Here is a link to the synthetic car price prediction-analysis target dataset:
Provide Azure blob storage location
There are six fields on the configuration page. If you have also used Azure blob storage before as part of reference or analysis configuration, the relevant fields will already be filled in, and only the file path has to be provided, assuming the target dataset is stored in the same Blob storage container:\
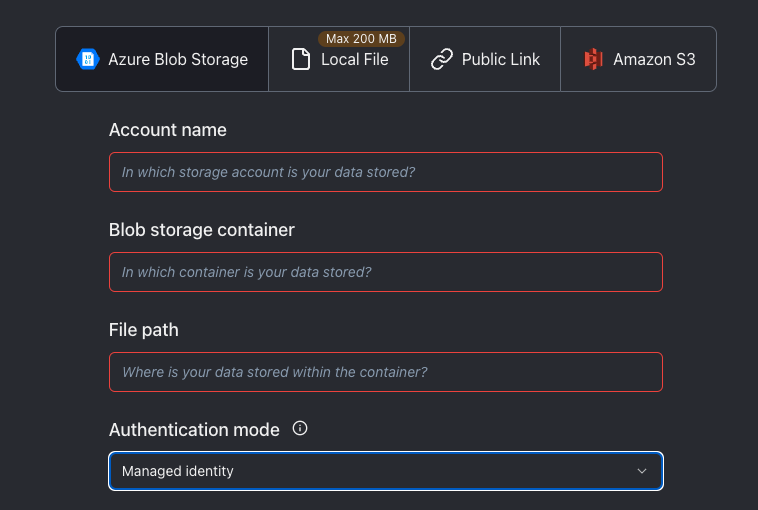
The first three fields are mandatory and related to the location of the dataset:
Azure Account Name
Blob storage container
File path
The easiest way to obtain the right values for the respective fields is by going to the Azure storage browser via the Azure portal:

The values for the first three fields can be derived as follows:

The last three fields provide ways of accessing/authenticating the blob storage. Only one of them has to be provided:
If "Is public*" is enabled, NannyML will try to connect without credentials (only possible if the account is configured to allow for public access)
The Account key is a secret key that gives access to all the files in the storage account. It can be found through the Azure portal. Link to the Microsoft docs.
The Sas Token is a temporary token that allows NannyML to impersonate the user. It has to specifically be created when doing the onboarding. Link to the Microsoft docs.
Provide AWS S3 storage location
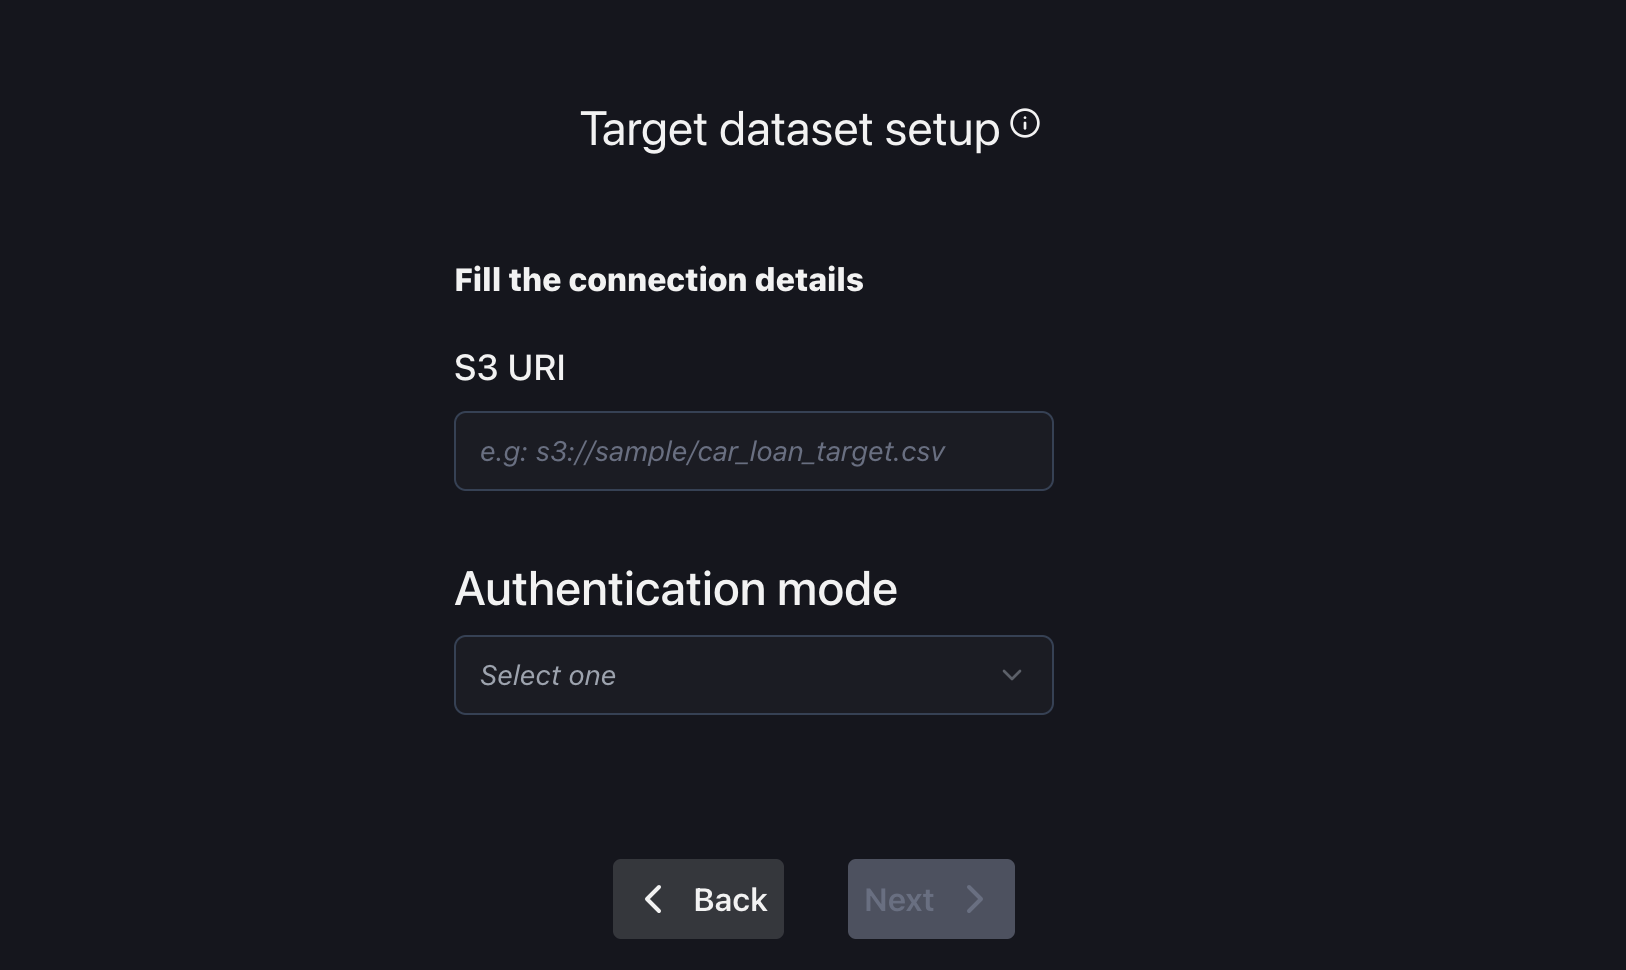
Upload via local file system If you have your dataset downloaded on your computer and it is smaller than 100 MB, you can upload it directly to nannyML Cloud.
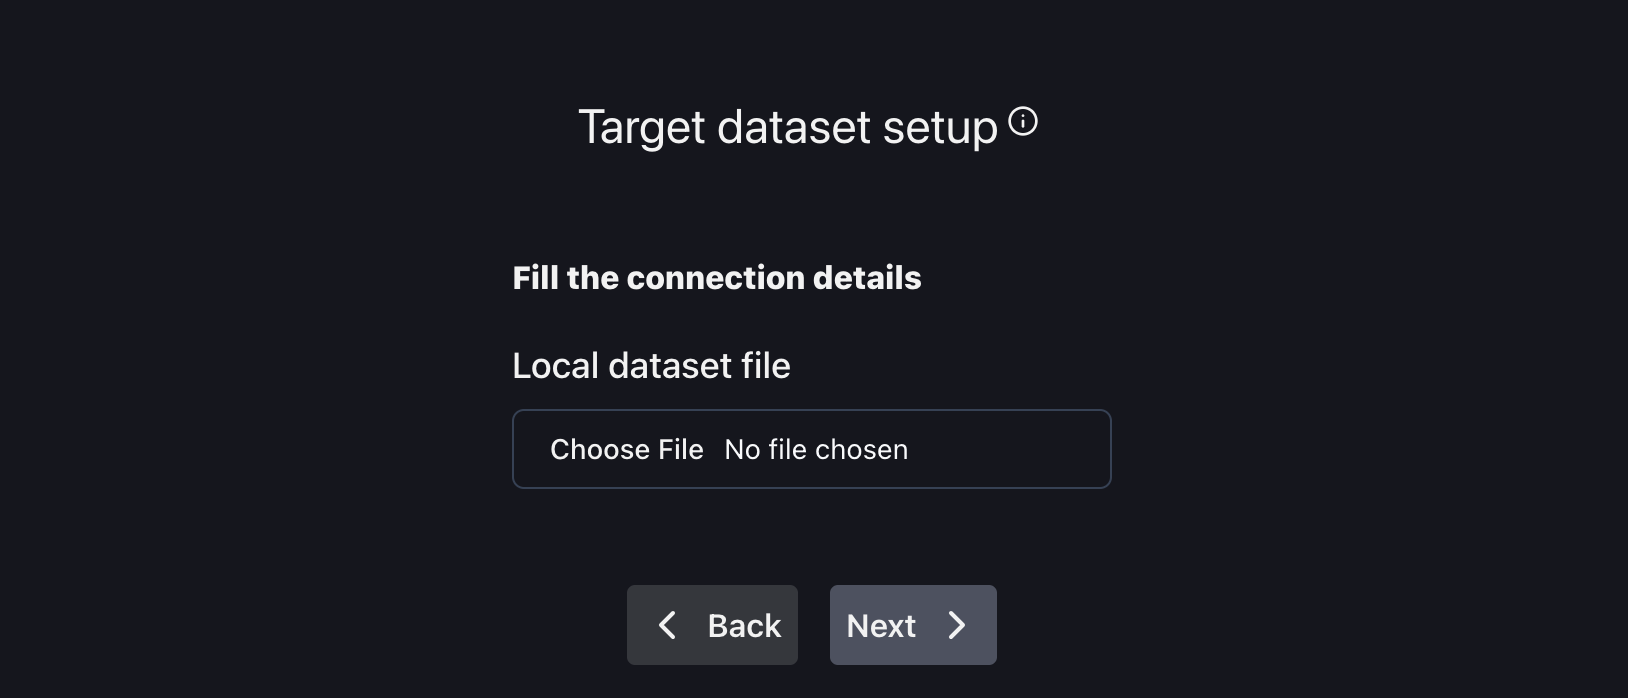
We recommend using parquet files when uploading data using the user interface.
NannyML Cloud supports both parquet and CSV files, but CSV files don't store data type information. CSV files may cause incorrect data types to be inferred. If you later add more data to the model using the SDK or using parquet format, a data type conflict may occur.
6. Configure metrics
Choose the metrics by which your model's performance will be evaluated. First select the calculators for your model by enabling the desired ones.
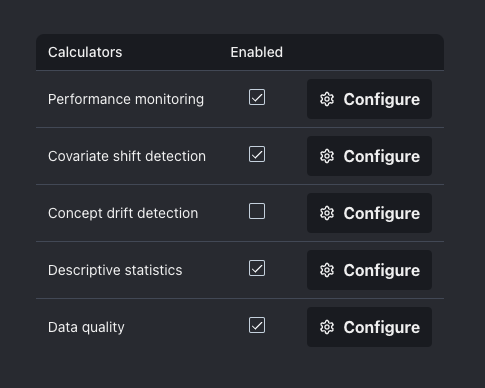
Then, by clicking on Configure button, it is possible to select the metrics and thresholds for analysing your model.
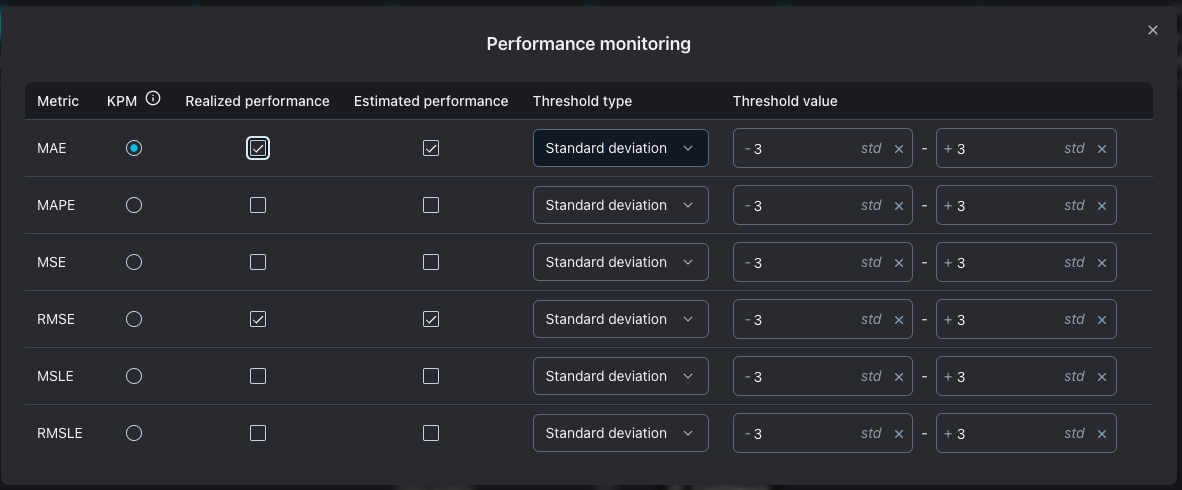
You can choose one metric to be the primary metric for your model (KPM). The primary metric will have enabled the realized performance and the estimated performance.
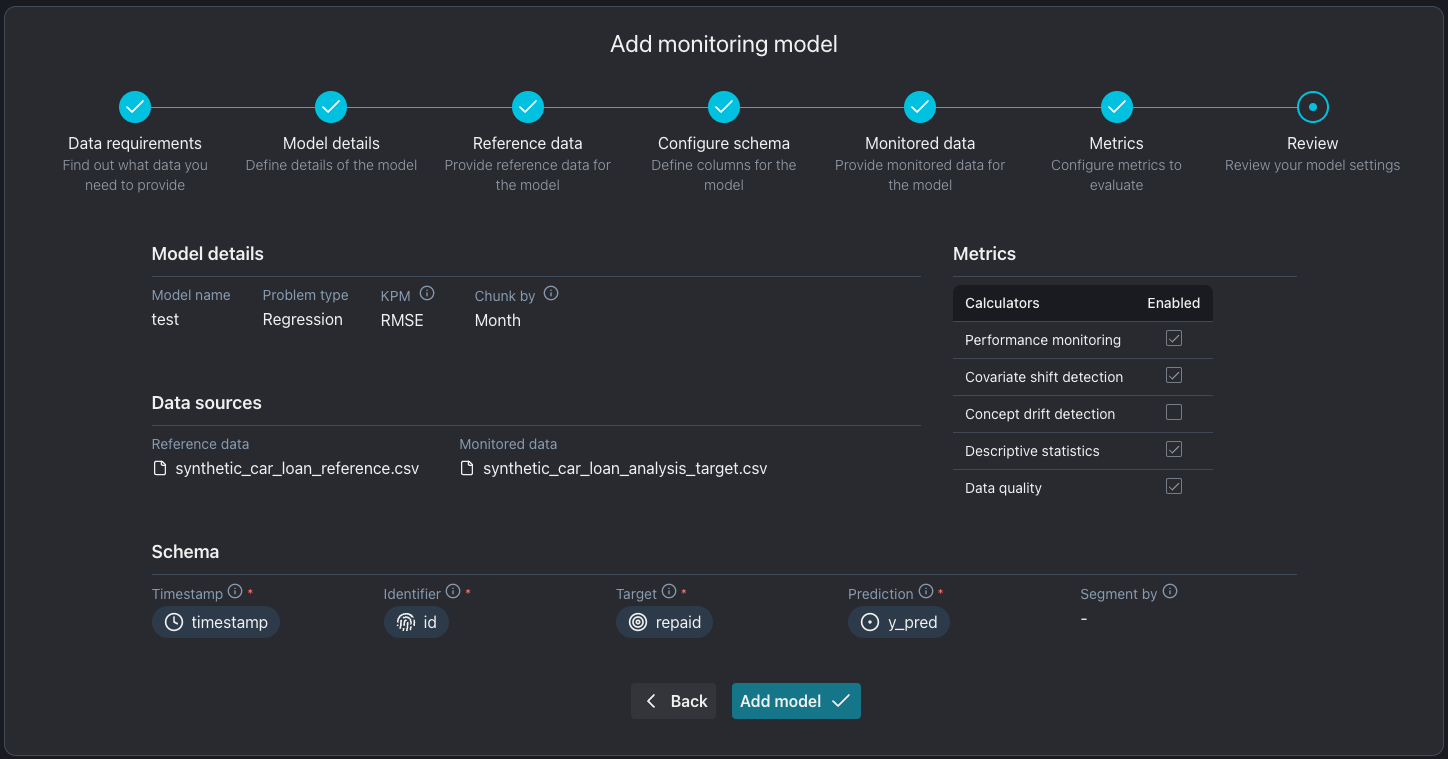
7. Review model settings
Review your model settings and start monitoring! 🚀
