Azure Software-as-a-Service (SaaS)
1. Go to the Azure portal
Use the following link: https://portal.azure.com/#home to visit the Azure portal. Be sure to sign in to your Microsoft account.
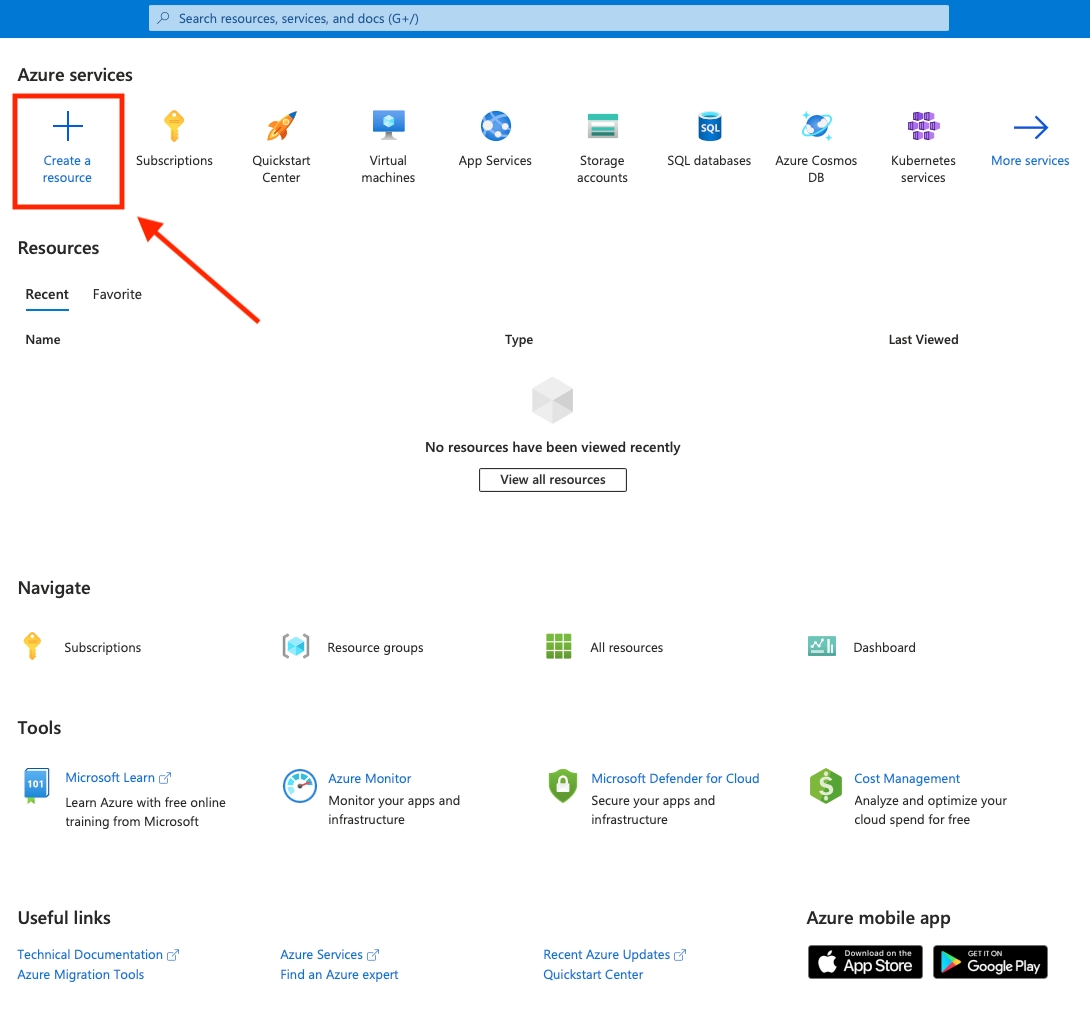
2. Create a resource
Press "Create a resource":
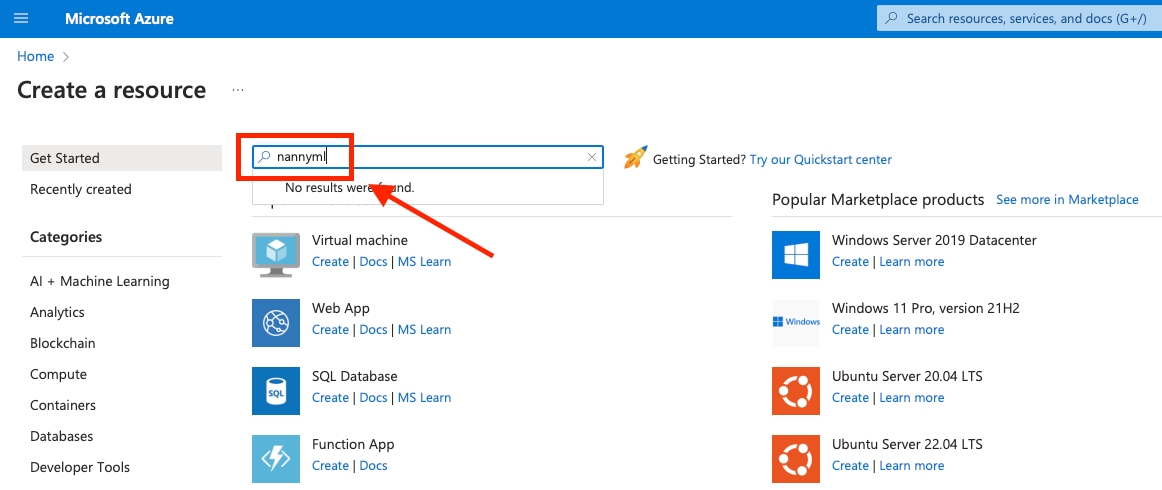
3. Search for NannyML
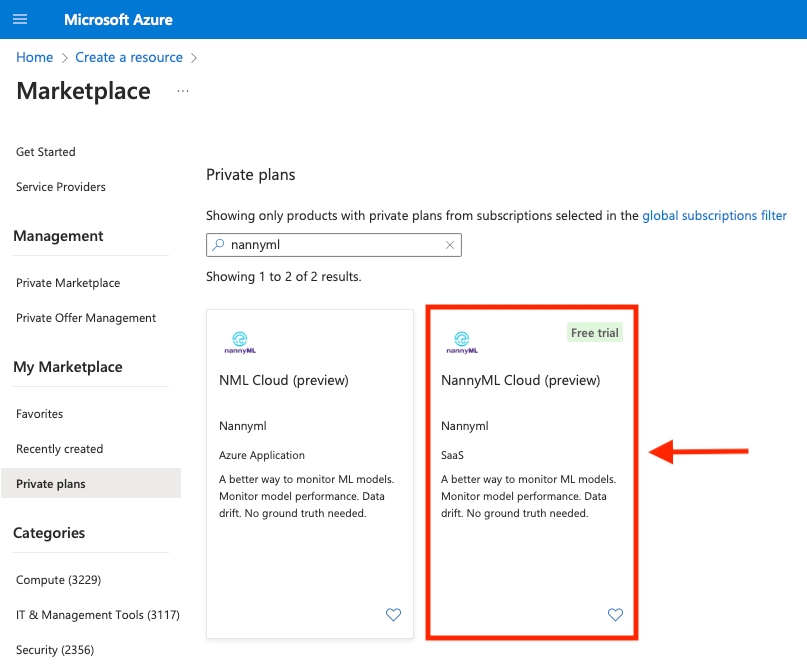
Type "nannyml" in the search bar and press enter:
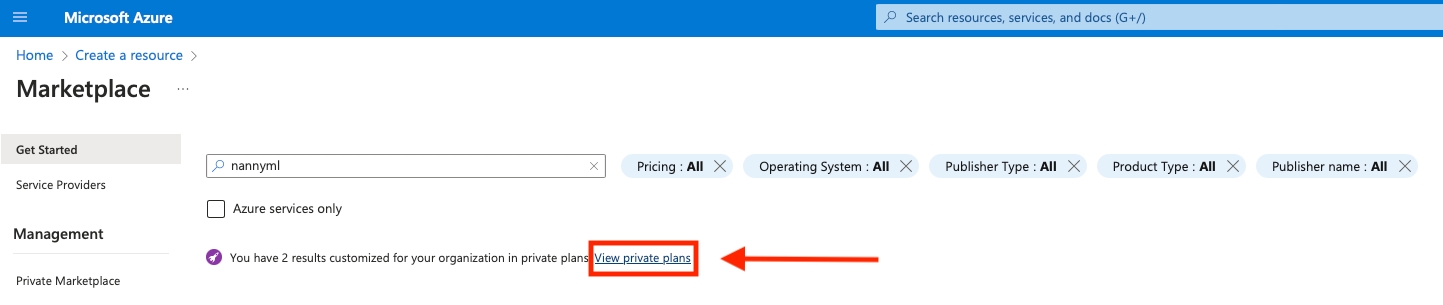
A small notification will appear about a private offer for your organization. This will only appear after completing the survey (if it is not visible after completing the survey, please reach out to niels@nannyml.com). Press "View private plan":
4. Subscribe to NannyML Cloud SaaS
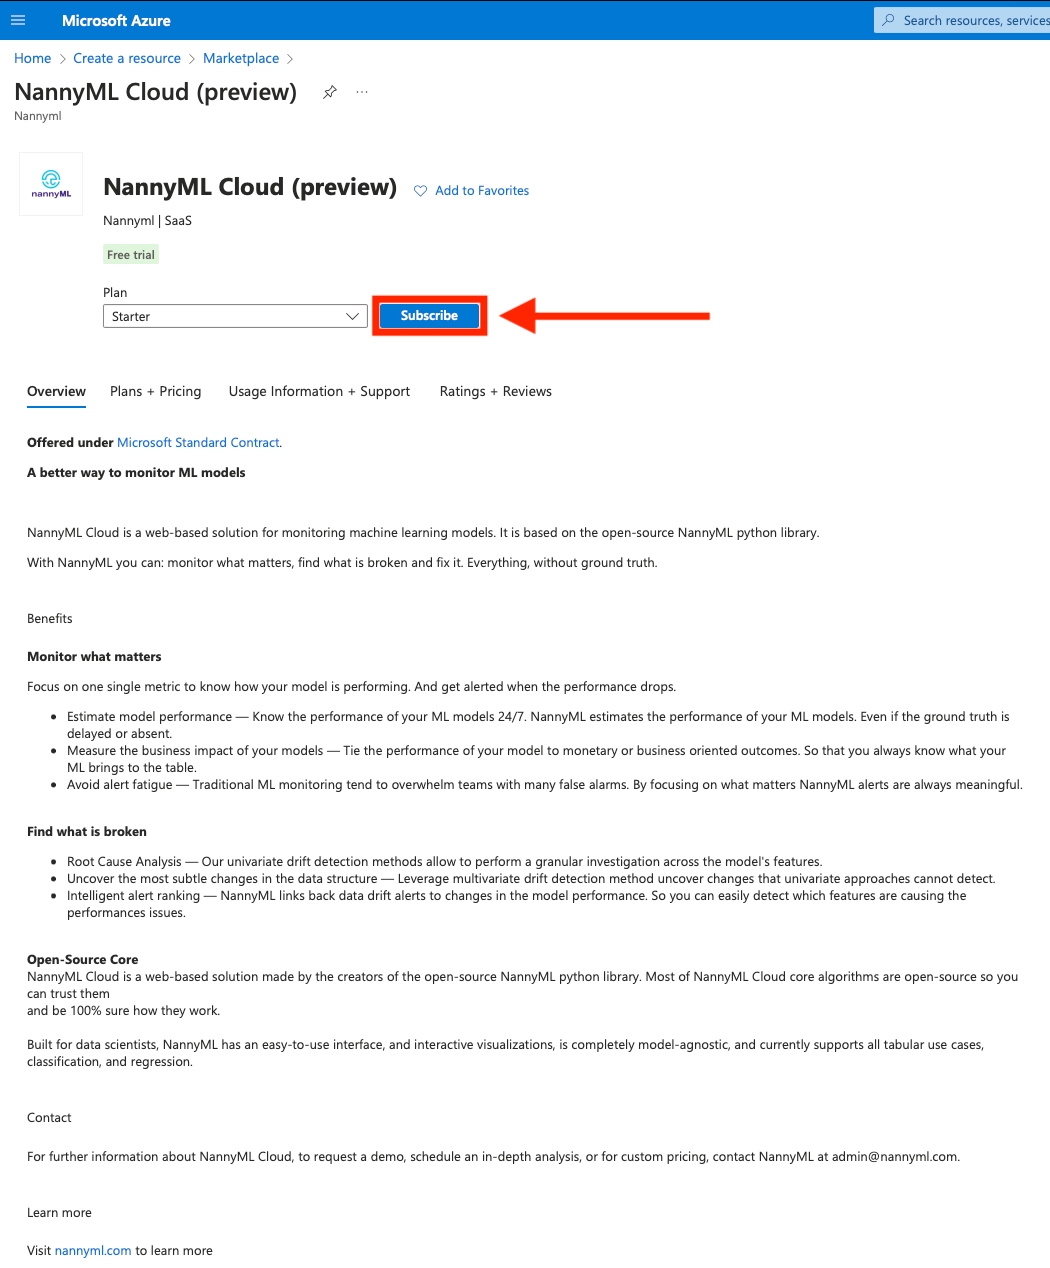
Click on the "NannyML Cloud (preview) SaaS" offering:
Select the starter plan and press "Subscribe":
4.1 Basics
subscriptionSelect your Microsoft subscription and pick a resource group. If none are available create a new one. Be sure to provide a name for the NannyML SaaS subscription to easily identify it later:
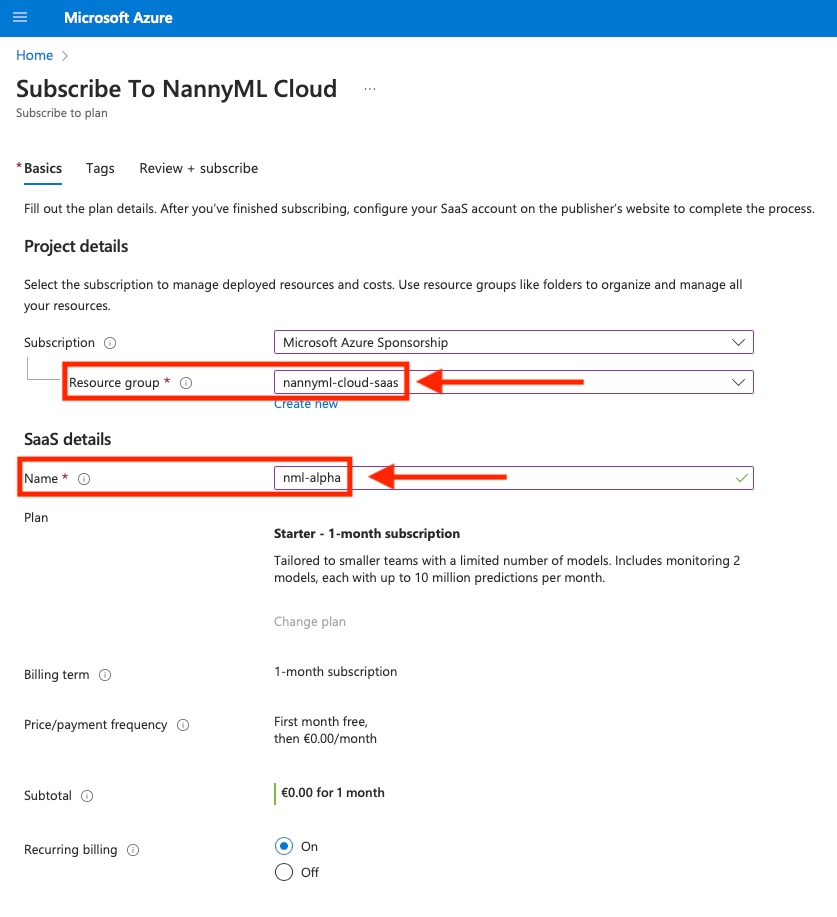
Press "Review + subscribe" at the bottom of the page:

4.2 Tags
Alternatively, you can also proceed to configure some tags, but they are optional.
4.3 Review + subscribe
Review the details of the subscription:
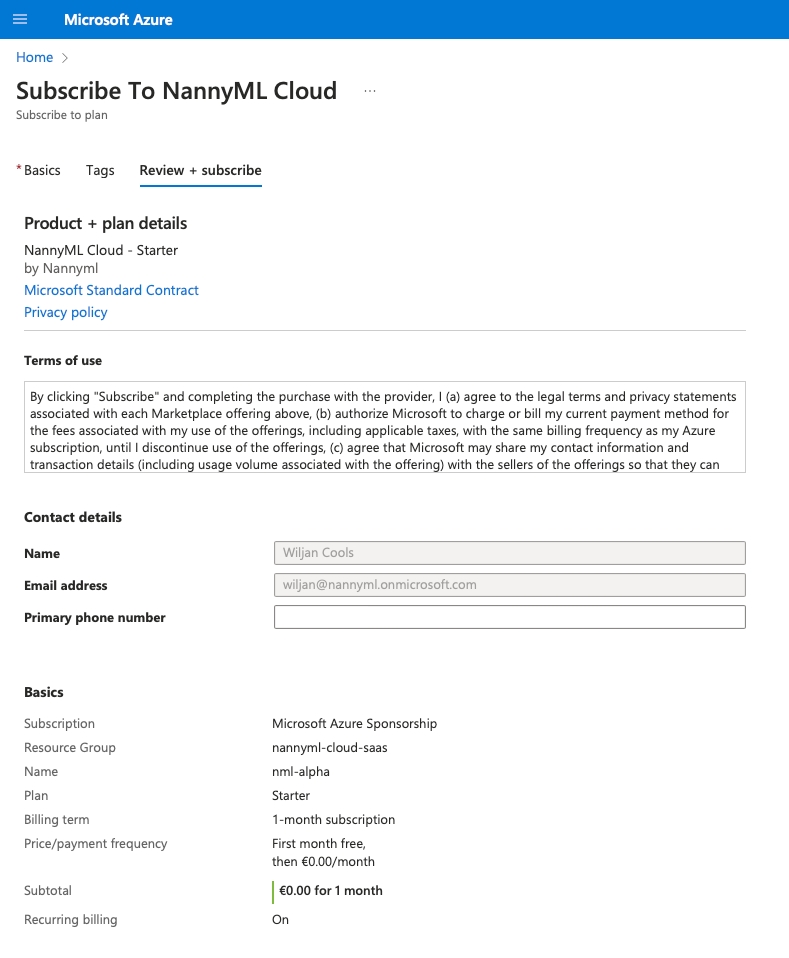
Press "Subscribe" at the bottom of the page:

It might take a second. The following waiting screen will appear:
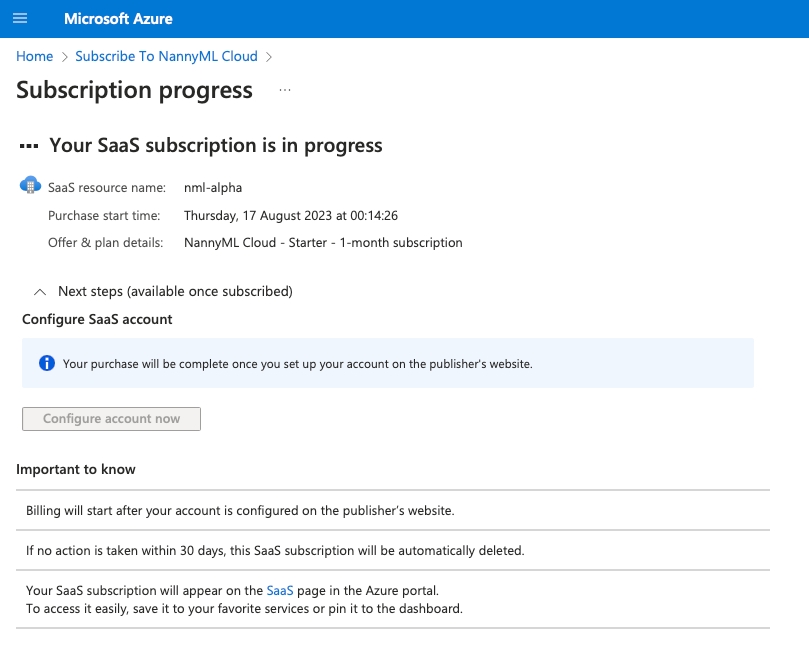
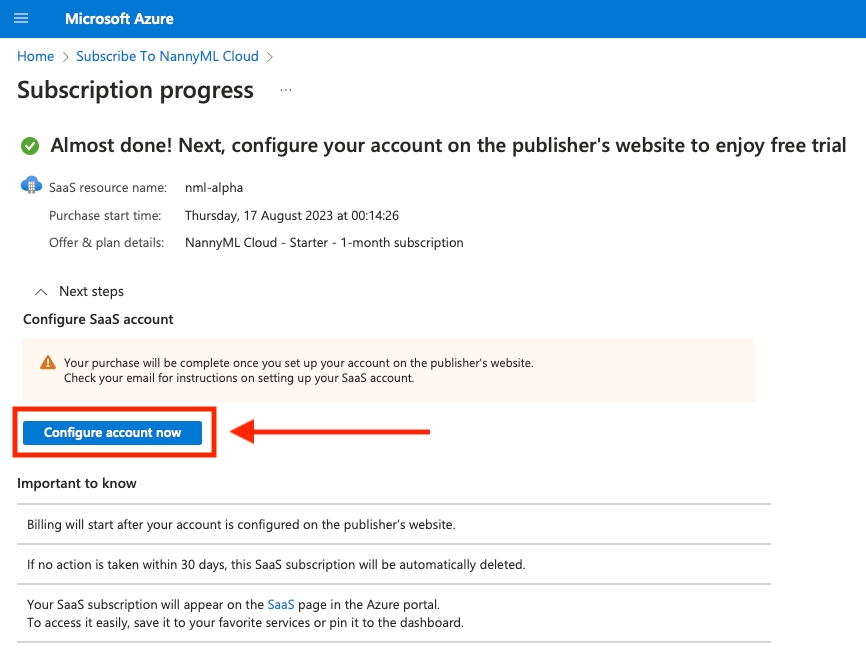
Once that's done, there is one thing left to do, which is to configure the NannyML SaaS account. Press "Configure account now":
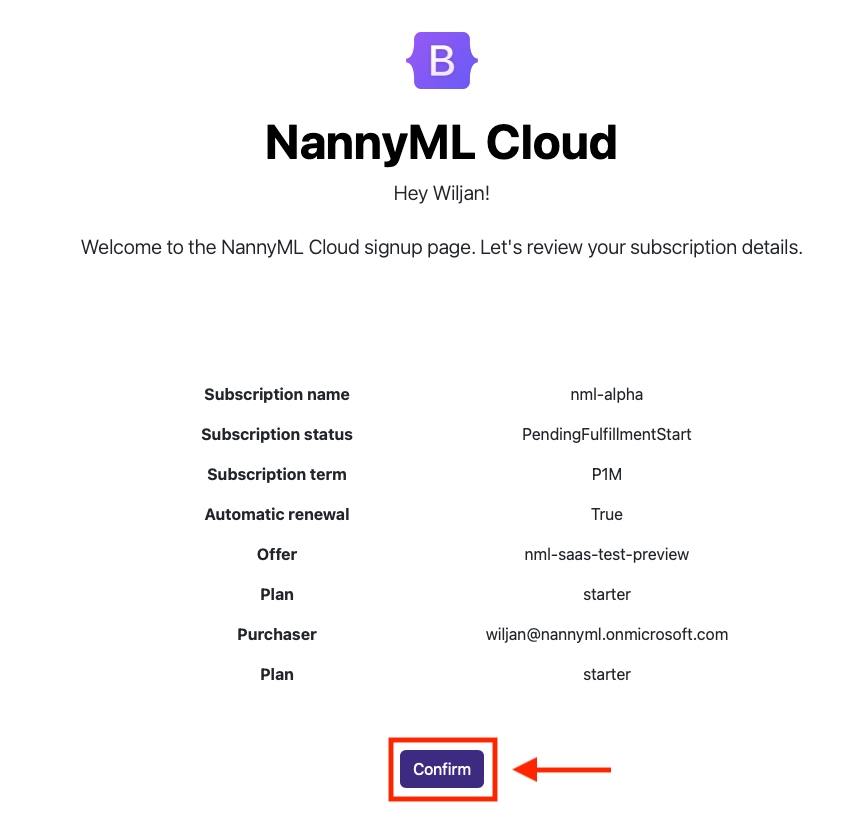
5. Configure your NannyML SaaS account
Review and press "Confirm" at the bottom of the page:
Provide a subdomain where you want the NannyML instance to be available and press "Provision":
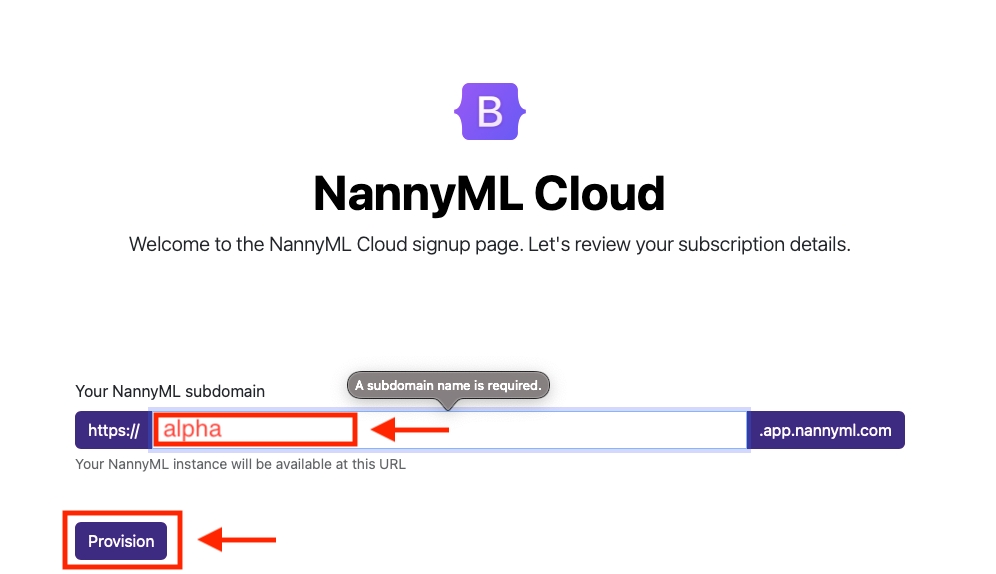
You are good to go: